
In this post, I'll demonstrate the basics of using a blind hem foot. In next week's post, I'll show how to hem a pair of pants using the foot, as well.
But wait! What is a blind hem, anyway?
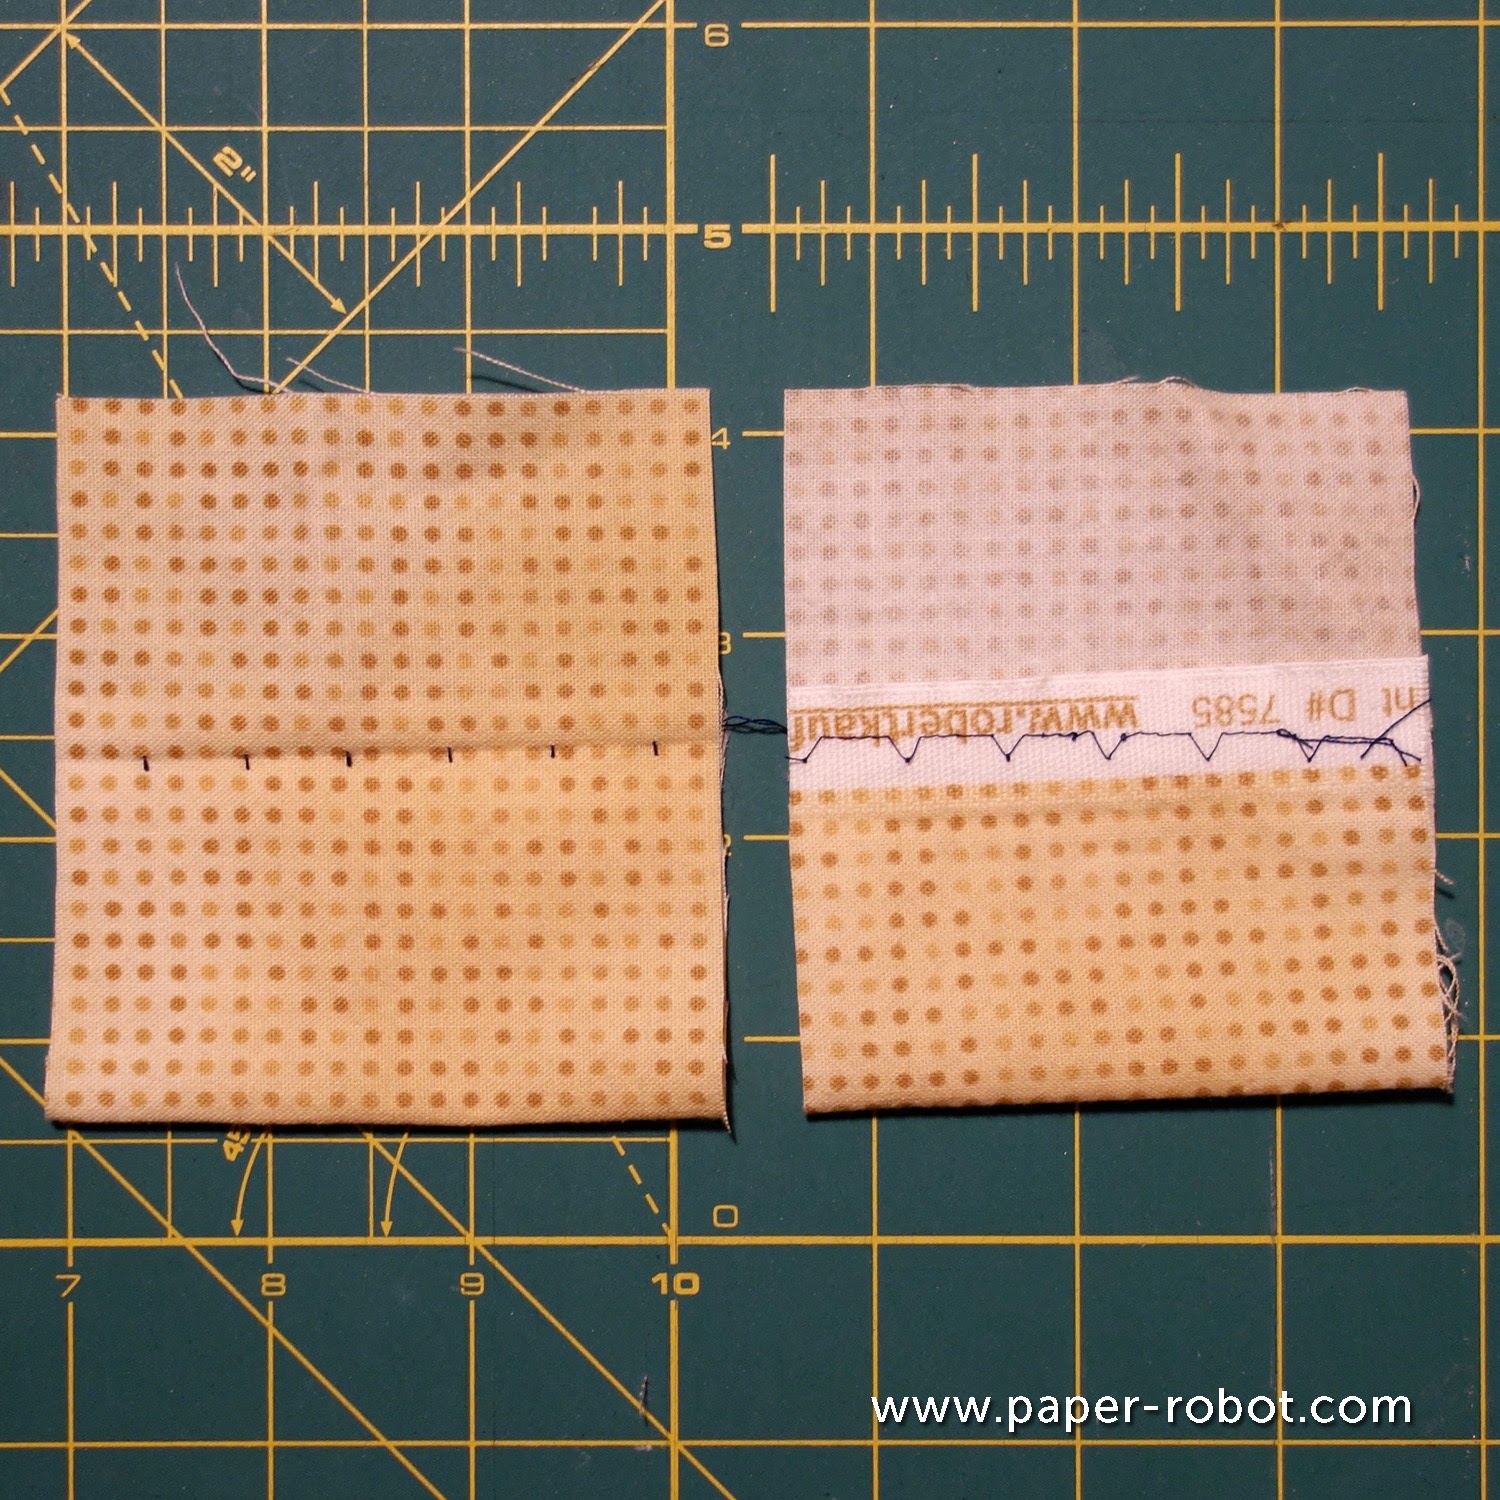
A blind hem is a way of sewing a hem on a garment, in such a way that the stitches are virtually invisible. Here's an example:
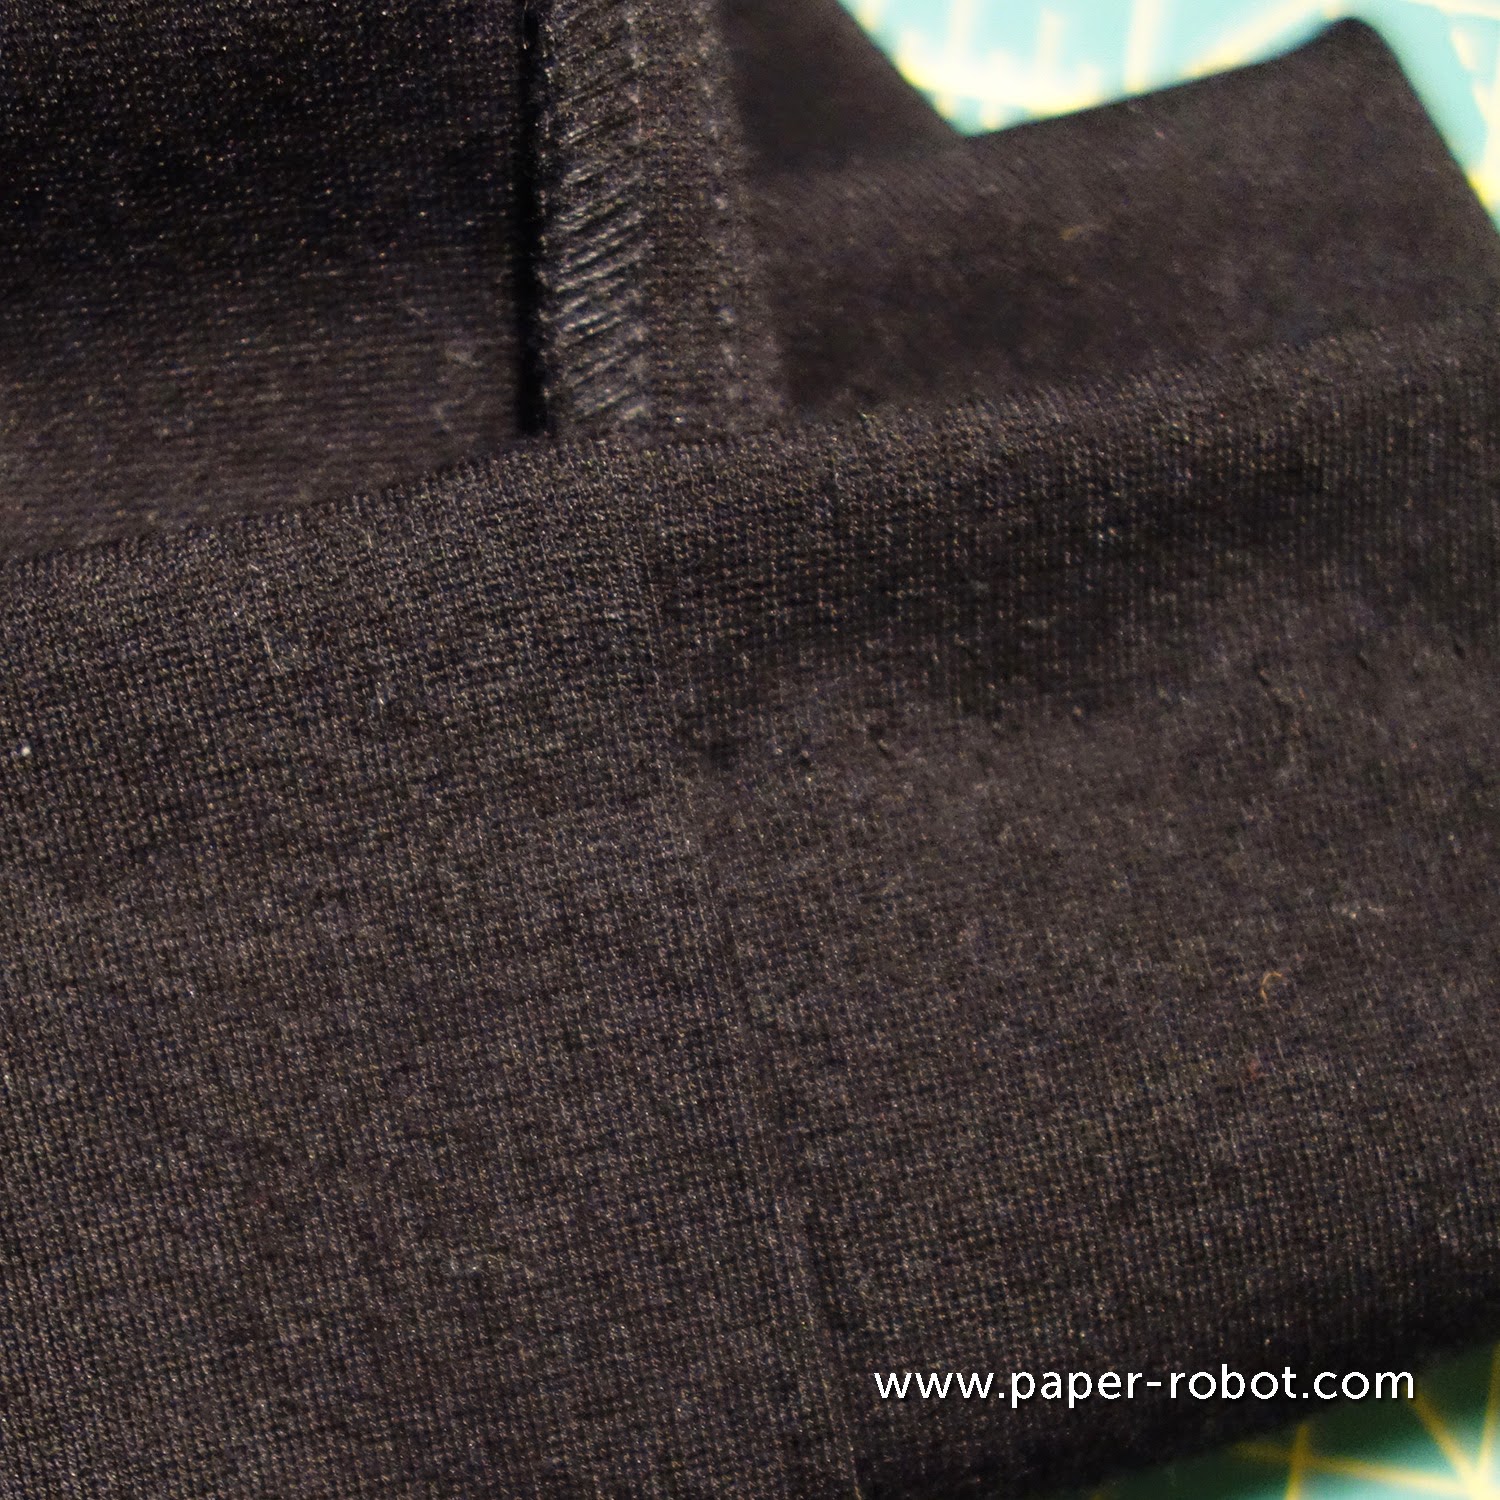
If you look very very closely, you can see the little telltale thread marks of a blind hem. But from any reasonable distance, nobody can see it, and it seems like your hems just float, without needing an extra line of stitching.
(Think of Ikea curtains, which come with an iron-on strip. You cut the curtain, fold up the bottom, and iron that strip in-between, right? This will look roughly the same, but the preparation is very different!)
(Note: iron hem tape totally exists, also.)
Blind hemming works with a variety of fabrics and styles, and is more delicate than a normal hem, both in form and in function.
Most, though not all, blind hem feet have a little guide, similar to the edge stitch foot:
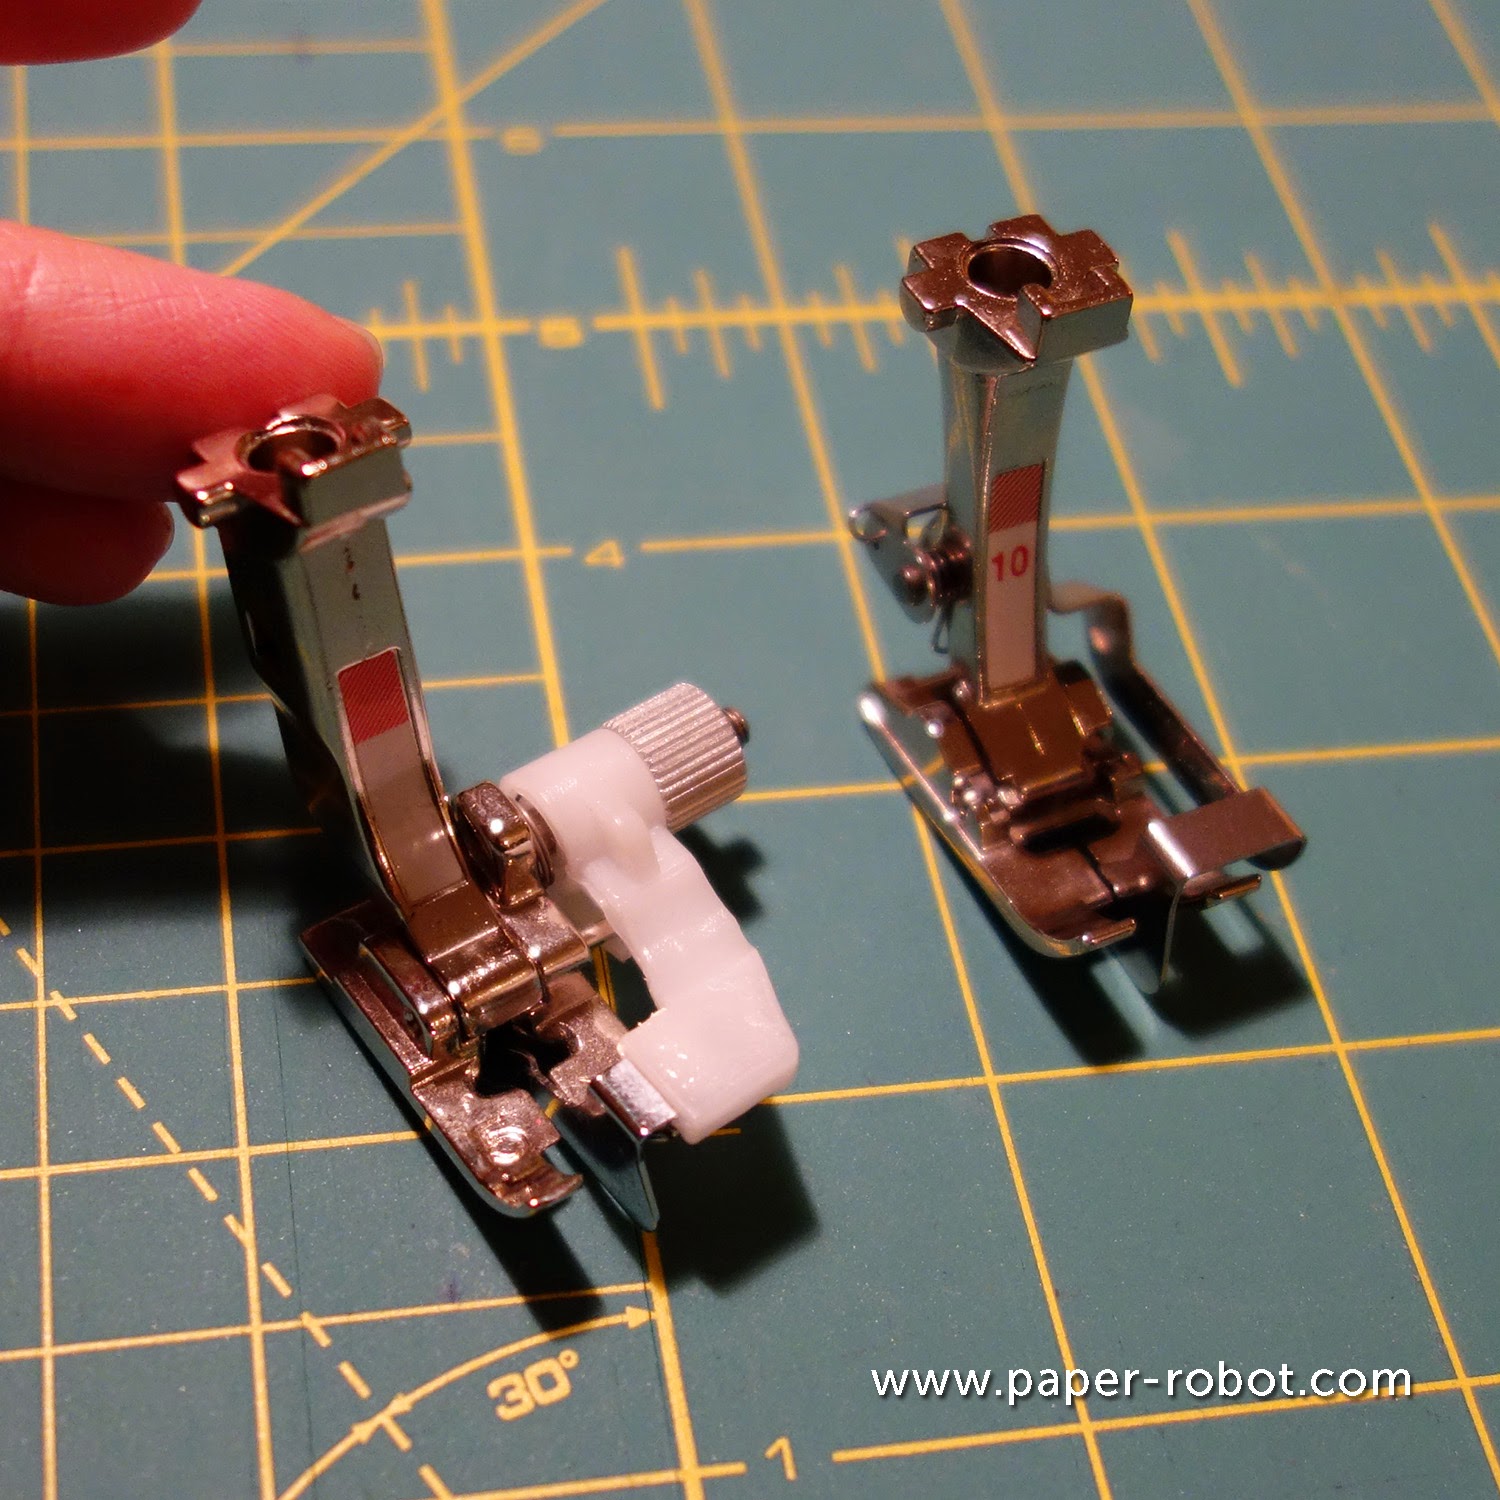
This guide operates similarly on both, and will be placed right up against a line of fabric. But the edge stitch foot's guide is static, whereas the blind hem foot's guide can move left or right, using that little dial.
The guide on the blind hem foot also serves to regulate tension, making sure that enough thread gets used in your hem.
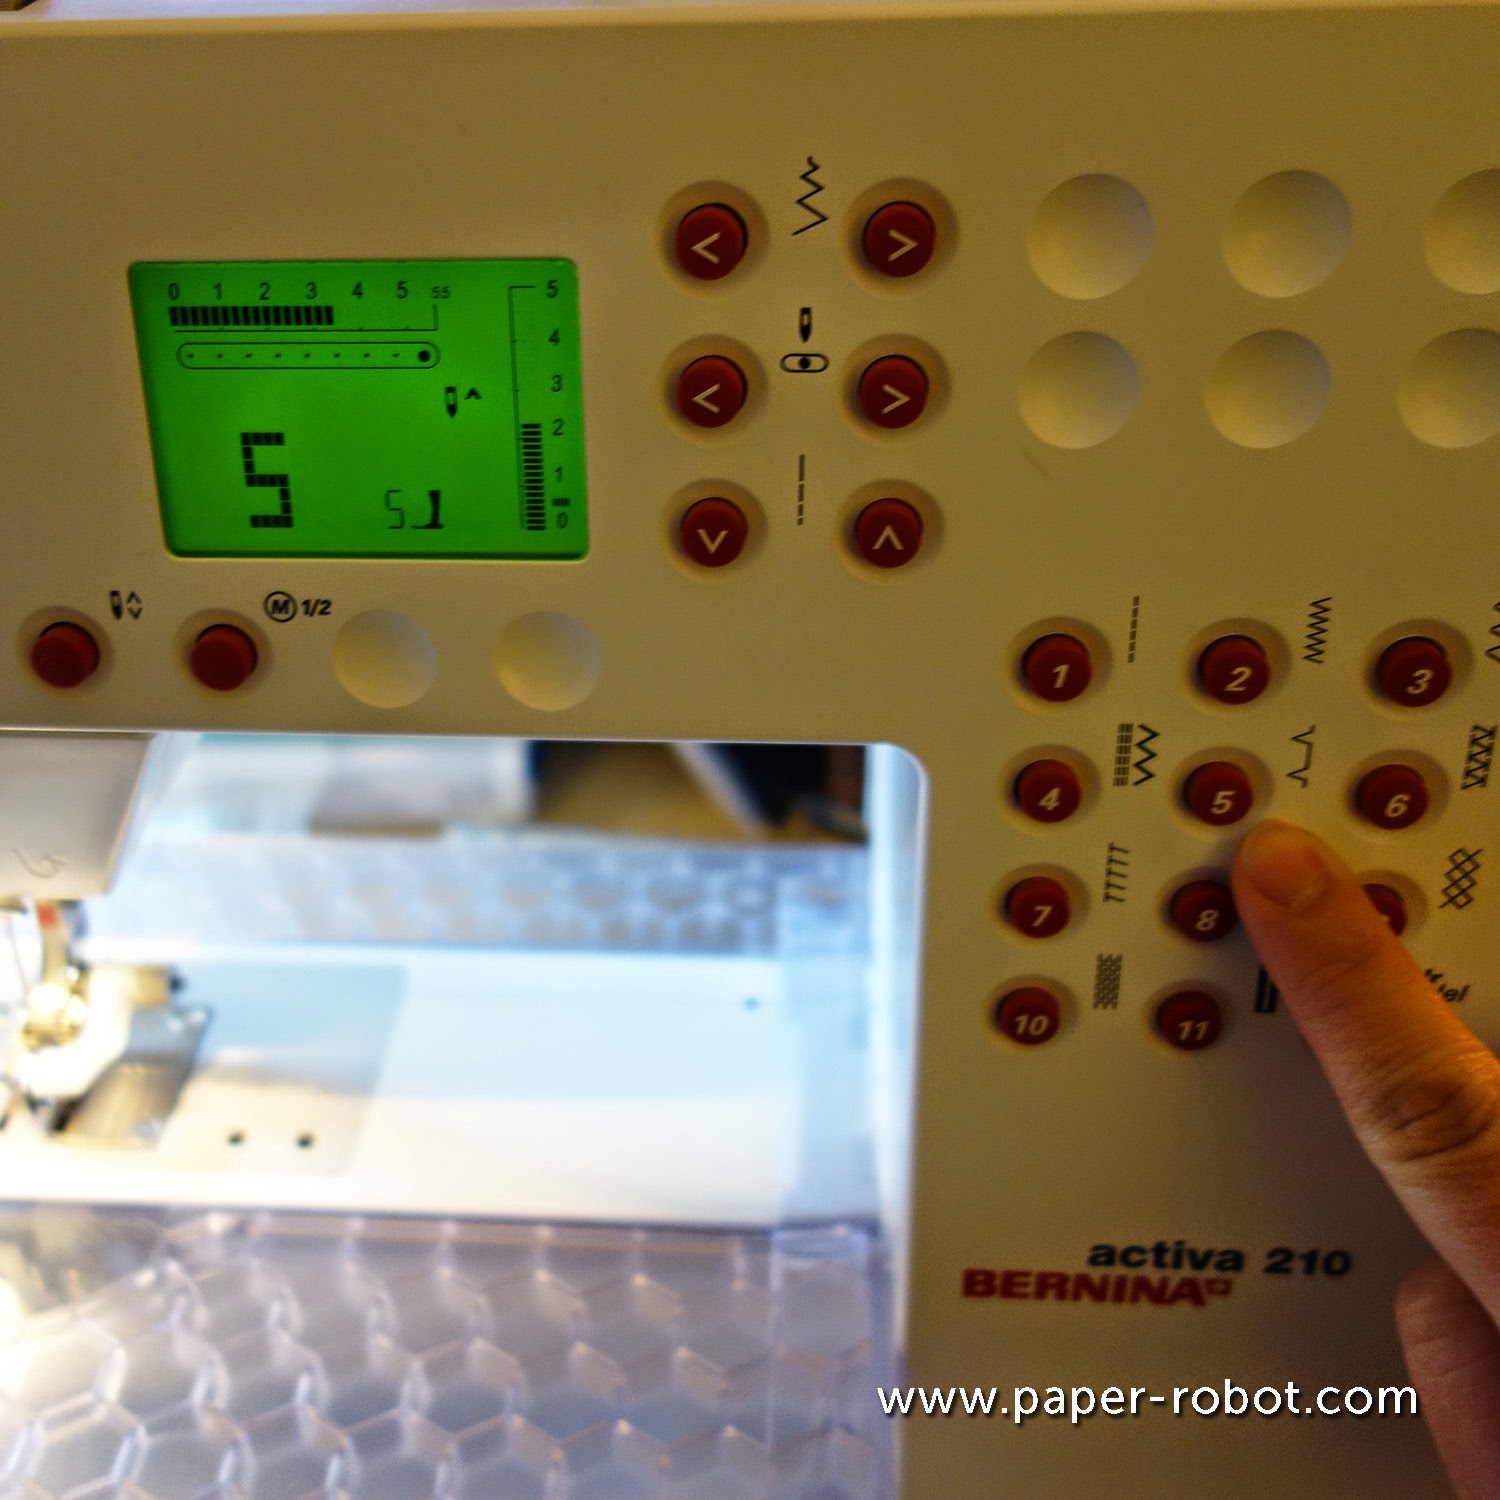
You'll want to use a blind hem stitch, which should look like a straight line interrupted by quick, short V's. Like this:
---v---v---v---v---v---v---v---v
Or like this on my Bernina:
Now get some scrap fabric and give it a try!
Step 1: Pin your fabric.
Fold the edge of your fabric so that it's positioned where you want it. Pin carefully, or better yet, baste and press.

Step 2: Fold everything over.
Next, take the folded edge and fold it behind the rest, so that the right sides of the fabric are together, and the pins are now facing the opposite direction:

If you were to look at my sample from the side, it would be kind of like this:

Step 3: Sew!
The guide on your foot will sit right up against the folded edge, with the rest of your garment going to the left.

It's always best to do a sample on some scrap, so you can see how the fabric behaves. If too much or too little fabric gets caught in the V of the stitch, adjust the guide position using the dial.
And that's it! It should look something like this, though hopefully less angled:

When you unfold the hem so that it sits properly, you'll see the little thread lines holding everything up.

As I mentioned briefly, this isn't the sturdiest of hems. Catching your foot in a loose end of it can take the entire hem out over time! But it can give you just the right look.
I recently pulled out my blind hem foot to shorten a pair of pants. My documented adventures shall be written up for next week!
No comments:
Post a Comment