Tuesday, September 30, 2014

Wool Felt Coasters

Wool felt is a great fabric; it has a nice texture, looks great, and doesn't fray, so you can use it in a lot of projects without worrying about finishing edges. Because it's non-woven, there isn't even a grainline to think about, which means you can pretty much cut however you like.

This tutorial will show you how to make some really simple but extremely effective coasters using wool felt.


Materials:

  • 1/4 yard of two different colours of real wool felt
  • Thread to match
Seriously, that's it.

Friday, September 26, 2014

Blag-a-Bag: Drawstring Bags

I found myself needing some gift bags this week, and making some felt like a nice, light project to ease myself back into Pacific time. The first several days of this week, we were getting up at 5AM and crashing at 9PM, so it was a little tough.


Focusing less on complex structure also gave me more time to play with the texture and fabric, too.

Thursday, September 25, 2014

Fancy F*ck

While we were at the cabin in Acadia, I branched out a bit into some cross-stitch embroidery, which I haven't done in ages.


Fair warning if you aren't a fan of swear words: this pattern is from Subversive Cross Stitch, and is pretty overt about it.

Tuesday, September 23, 2014

Jet Setting

The last three weeks have been extremely busy for us! We've spent the last few days recovering from an extended vacation, and attempting to settle back into regular lives in Pacific time. From August 30th through September 19th, we've visited DC, New York, Acadia National Park, Northampton, and Boston.


Travelling via plane, train, car, subway, boat (including a canoe), and on foot, we've gone through 10 states: Virginia, Maryland, Delaware, Pennsylvania, New Jersey, Connecticut, Rhode Island, Massachusetts, New Hampshire, and Maine. Granted, since we were on the Northeast Regional, we didn't really stop in half of them except at Amtrak stations, but I consider that a technicality!


Of course, one such as myself could hardly go elsewhere without visiting a couple of yarn and fabric shops. I actually had a bunch of them on my list, but too frequently forgot to take a photograph or more often, was unprepared for the weather (seriously, 35ÂșC and 90% humidity is too much for me) and ended up not going to a shop. I still managed to do considerable damage to my wallet, though.

Friday, September 19, 2014

Bag a Week: Travel Bag

This post is the last of several which I scheduled to go up while we've been out of town, and with any luck, we'll be home before this one even appears on Paper Robot.

I realized that this is the first bag I've designed with the intention of giving it a real workout. I use some of my bags for a few days, maybe a week, but most of them are just prototypes, where I test out a technique or concept.


Tuesday, September 16, 2014

Sewing Paper

When you think of "sewing," chances are that your mind will focus on "fabric," or "clothes," or maybe "quilting." It's unlikely that "paper" is going to come up very easily, because why in the world would you sew on paper?

But I mentioned in my post about sewing machine needles that you can save your dull needles for sewing on paper, and I wasn't kidding. I've also sewn fabric onto paper, with thread, to create a background on a greeting card for a baby girl:


Give it a try some time! Space your stitches out enough, and that should avoid damaging the paper enough that you can probably forego using any glue.

You don't even have to use fabric! Sewing on a single layer of paper without thread lets you create perforation. Lower your feed dogs (if you can) and free sew some swirly patterns. Make paper garlands!

The possibilities are endless, but in case you want some visual inspiration, check out this Pinterest board I created!

This week's post is pretty lightweight, because I've been doing some travelling. Next week I'll post about the places I've been, and more importantly, the fabric and yarn shops I've stopped into!

Friday, September 12, 2014

Bag a Week: Charger Tote

As a bona fide digital-native millenial, I have more devices than fingers, and that number isn't going down any time soon. I have a charger for each device, too, and Spousal Unit has his own versions, which means cables, cables everywhere!


I used to keep all my chargers and stuff in a tiny bag, but it's unpadded, and I wanted something with a handle to make it easier to grab.

Tuesday, September 9, 2014

Sew a Rectangle: Infinity Cowl

Proving that sewing rectangles and straight lines gives you endless possibilities, here is a tutorial for a lace and wool cowl. I saw something similar at Nordstrom once, and was scandalized at its $50 price tag. I poked at it in the store, but couldn't figure out how it was made (this is rare, I assure you), so I did a quick search, and found a slightly confusing tutorial. Nevertheless, I braved this tutorial and managed to figure it out for myself, so here is what I consider a less confusing infinith scarf tutorial. Obviously mine is better.


Note that you can definitely do this with two layers of the same fabric, and you don't have to use the lace, which means you can skip a lot of the extra finishing and lace-related precaution steps.
The fabric I had was 16" wide and 43" long, but that isn't enough length to wrap multiple times. It's fine if you like this look, but if you want a tighter single wrap, go shorter, and if you want a double (or triple) wrap, I'd say go with at least 60"-70" long, and make it narrower. OR, keep it wide AND make it longer, and you have a shoulder wrap.

Materials:
  • 1 piece wool fabric 16"x43"
  • 1 piece lace fabric (not too stretchy) 16"x43"
  • sharp pins
  • hand-sewing needle
  • thread to match, and thread that doesn't match at all

Once you've cut your fabric to size, pin along the long edges, with right sides together. Do not pin the short ends. You want to sew a tube.

Sew the long sides together with 1/2" seam allowance. Make sure the wool layer is on the bottom to avoid getting the lace caught in the feed dogs (the teeth on your sewing machine which pull the fabric along).

Then, use a zig-zag stitch and go along the edges of your seam allowance. Once you've trimmed your threads, tug a bit along the seam allowance and trim off any excess threads from the wool, like so:


Because the lace is sheer, you'll be able to see any stray threads that come loose after you finish your cowl. But you won't be able to pull them out, and you don't want your wool to unravel! This is why we finish this edge now.

Now comes the confusing part. You have a tube, yes? It's inside-out. If you wanted to stop here, and just have a tube, you'd just turn it right-side out. We're going to do that, kind of. Instead of turning it all the way right-side out, we're going to stop half way.


Here is your tube at the top of this image. Stick your arm inside, from the left, and grab a hold of the right side. Then pull it inside your tube, so that the right side is folded inwards (middle of the diagram). Stop when both ends match on the left-hand side (bottom, red arrows). On the right-hand side, it'll be folded, like this:


Once you have that, pin that left-hand side together, starting at the side seams. I opted to keep the wool straight, rather than trying to fold it back, since the lace is thinner and has more give. I like to pin right at the seam, so I can match them up as best as I can.


Then you can start pinning the rest together. The wool will be pinned to the wool, and the lace will be pinned to lace. But if you try to sew your lace together, you might end up catching it on the feed dogs again, so grab a piece of tissue and pin that on the inside of the tube, against the lace. This will be the bottom layer you will sew on.


Think of your tube as a ring, which goes around the free-arm of your sewing machine. You'll sew that ring together with a 1/2" seam allowance again, but leave a gap in the wool, for turning. 
Zig-zag the wool edges and pull out loose threads again, but this time you'll have to do each wool layer separately, otherwise you'll close up that turning gap.


Then, carefully rip out that tissue paper.


Then, just as with the rectangle project, crease the fabric at the gap, and start turning your project right-side out. It might look like a mess for a bit, but have faith and keep pulling.


Once you finish, you'll have a bona fide infinity cowl! But with a gap.


Pin that gap together, slip-stitch it closed, and you're done!


Here's the non-lace version I made:


Play a bit with the sizes, to find one that suits you. Maybe you like them long so you can get a double or triple wrap? Or maybe smaller so you get a closer fit . Make sure it can fit over your head!

Thursday, September 4, 2014

Throwback Thursday: Handwoven Fabric Box

Another one of my many textile arts hobbies is handweaving, which I do on an Ashford Knitter's Loom. Usually I just tie off my work and I have a scarf, but I have dabbled a bit with sewing my handmade fabric, especially if my finished product is narrower than I expected.

This box, sized to hold a bunch of CD jewel cases, was actually a pinwheel pattern scarf which ended up being way too narrow, only a few inches wide. I used my sewing machine and some stiff interfacing to sew them together, and ended up with this box shape, lined here with some plain muslin.


If you hand weave and want to sew with the fabric you make, I highly recommend having a serger around. Thicker yarns like worsted and DK will tend to unravel much more easily than regular fabric, so you'll want to make sure you can finish the edges securely. YES THAT'S RIGHT, SERGERS ARE AWESOME. :D

Tuesday, September 2, 2014

Bag a Week: Grocery Tote Tutorial

This week's blag-a-bag is a little early, since I decided to make some grocery bags, and thought it would be a great tutorial, too.


This makes a bag that is 12"x12"x6", with an extra 9-10" drop from the straps. It's a little smaller than your standard paper grocery bag, but you can still pack a lot in there. On the plus side if you're short: you can carry this bag in your hand and it won't drag on the ground!

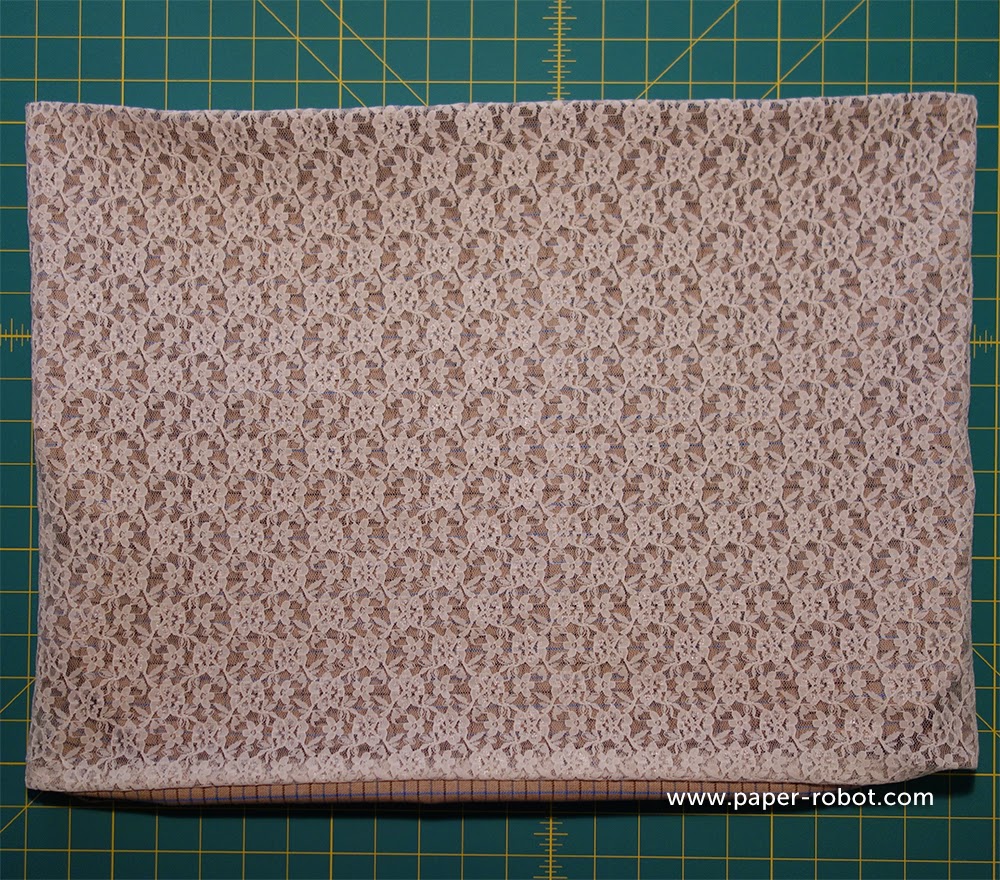
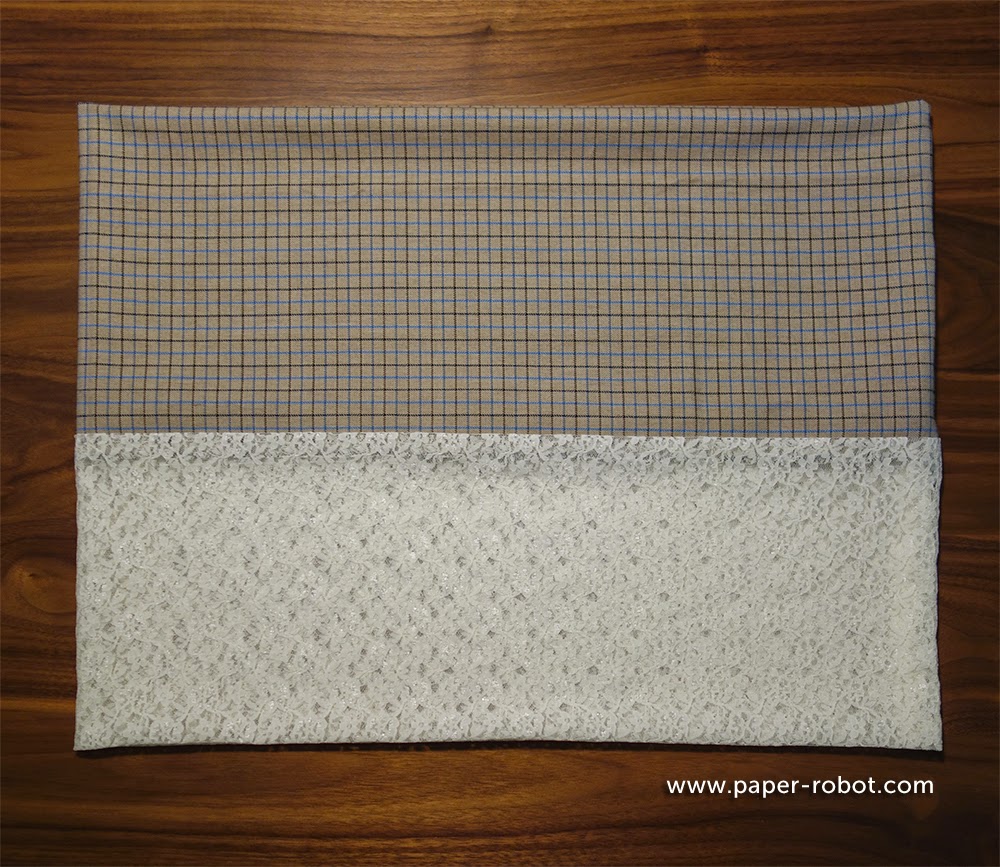
Materials: 1.5 yards of medium-weight twill, or some other sturdy fabric. Pre-wash your fabric before you cut, if you intend to wash it after sewing.


1. Cut your fabric. 
You want two side pieces, front and back pieces, a bottom piece, and two straps.

  • 1 bottom: 13"x7"
  • 2 front/back: 13"x13"
  • 2 side: 13"x7"
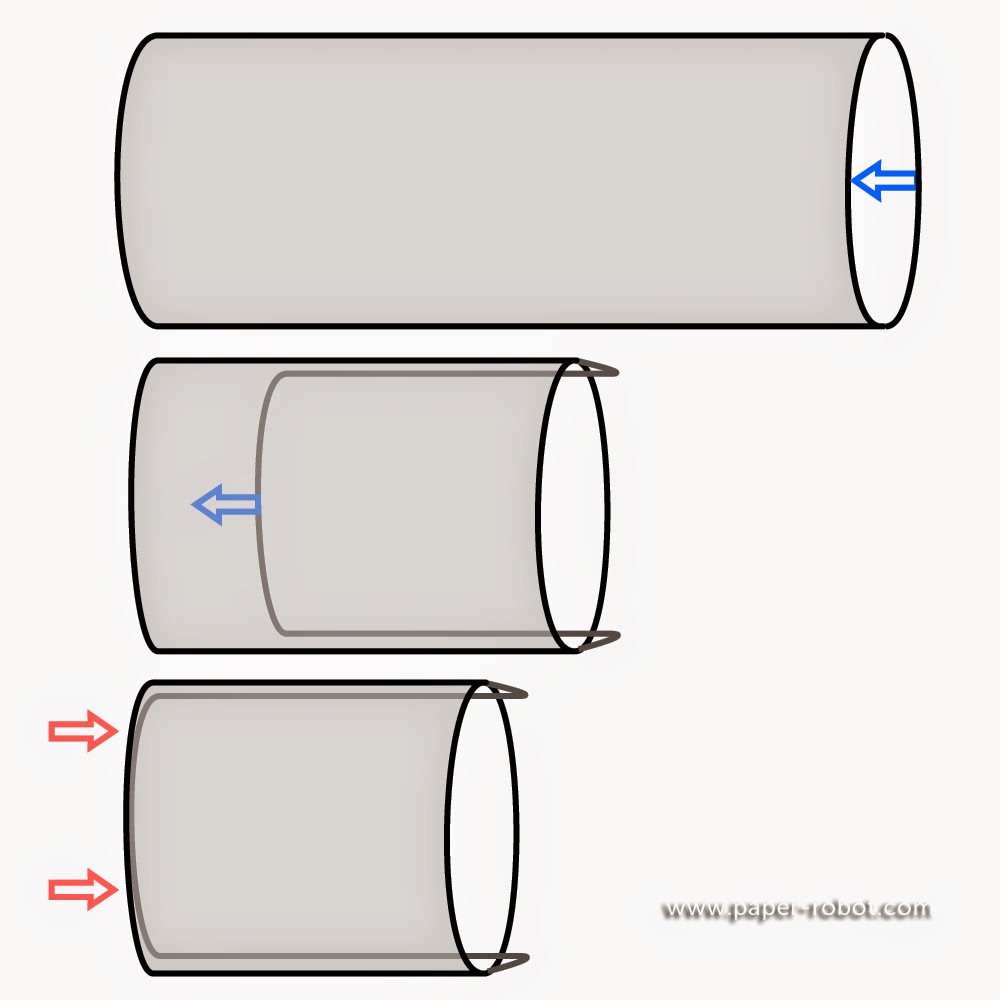
Grain doesn't matter quite as much, but it is better to have the lengthwise grain going vertically. Here is my rough diagram to show this.


This is actually how I usually start a bag. Maybe my mathematical approach is why I end up with huge-ass bags like last week's.

2. Prepare straps.
Pin the straps together, folding lengthwise with right sides together. 


Sew, using a 1/2" seam allowance. 

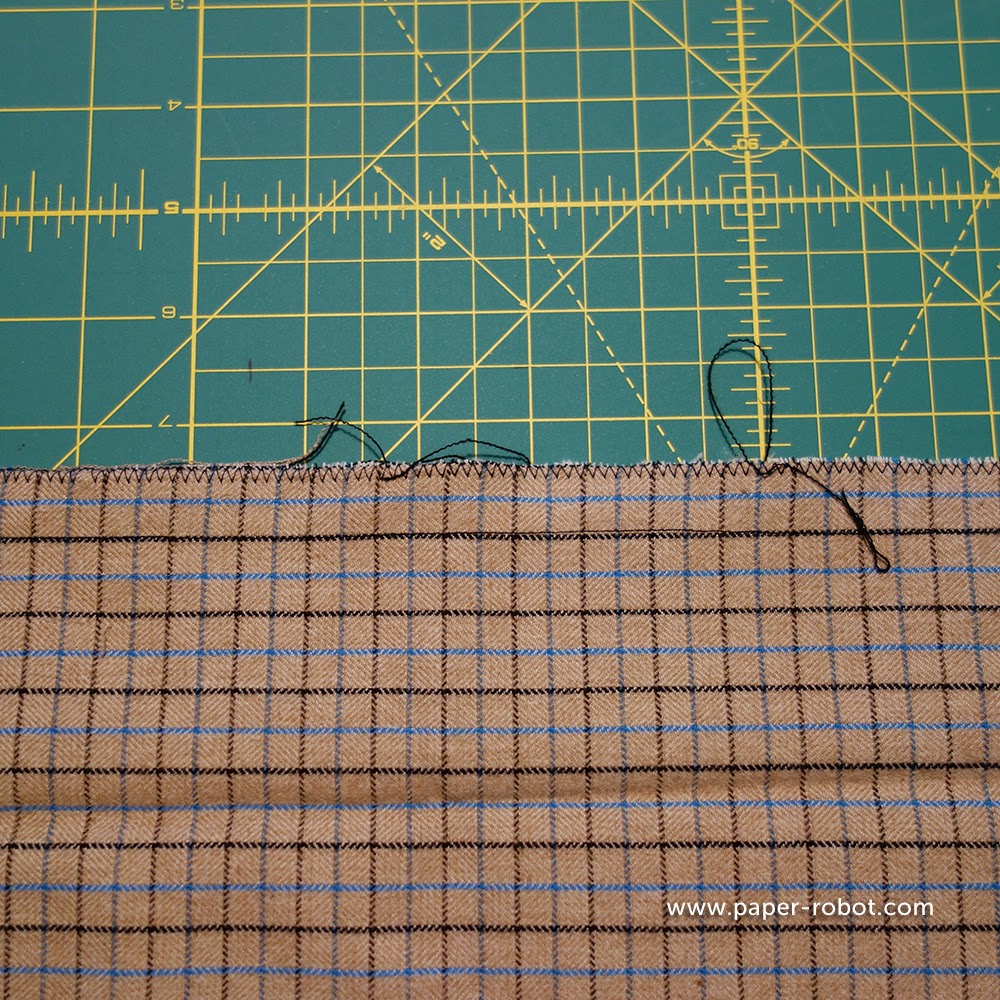
Pro-tip: if you're sewing a few pieces in a row, you can chain them together instead of snipping the threads. Usually it's bad to sew without fabric, but one or two stitches won't hurt.


Turn the straps right-side out.


3. Prepare front/back and side pieces.
Finish the top and bottom of your side pieces, and your front/back pieces. Overlocking is recommended, of course! But zig-zag is pretty good, too. 

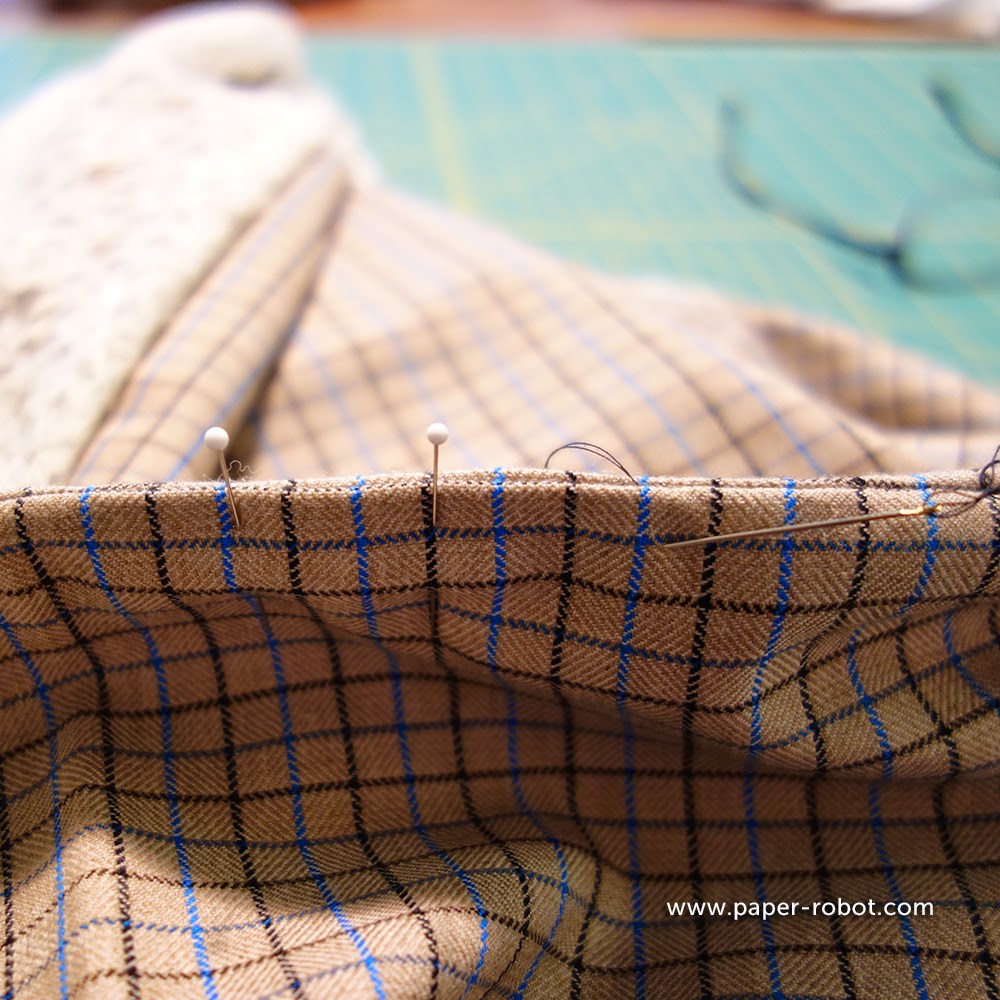
Fold the top down 1/2", and sew 1/4" from the edge.


4. Attach straps to front/back pieces.
On your front/back pieces, make marks at 3" and 4" from the side edges, at the top and the bottom.

Pin straps to these marks, seams facing in. Be careful not to twist the handle at the loop!


Make a mark across the top of one strap, in line with the top seam on your front/back piece. Then make another mark 1" below.

Mark diagonally between the corners. You should have an X. Do the same for the other three straps.

Sew one strap along the edges, and following the markings you made previously. Your path should look something like this:
Stitch close to the edge, turning at the corners, and backstitching at the beginning and the end to secure your threads.


Do the same for the other three straps.

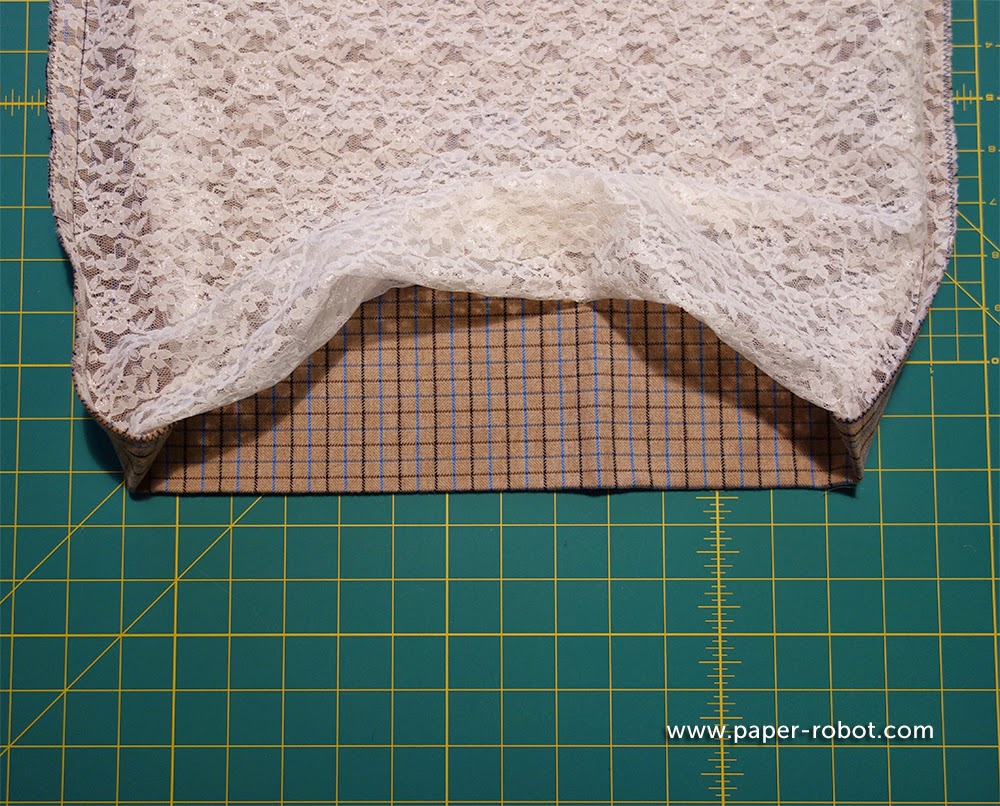
5. Sew front/back to sides.
Pin the sides to the back/front pieces along the side edges, with wrong sides together. Sew with a 1/4" seam allowance. 

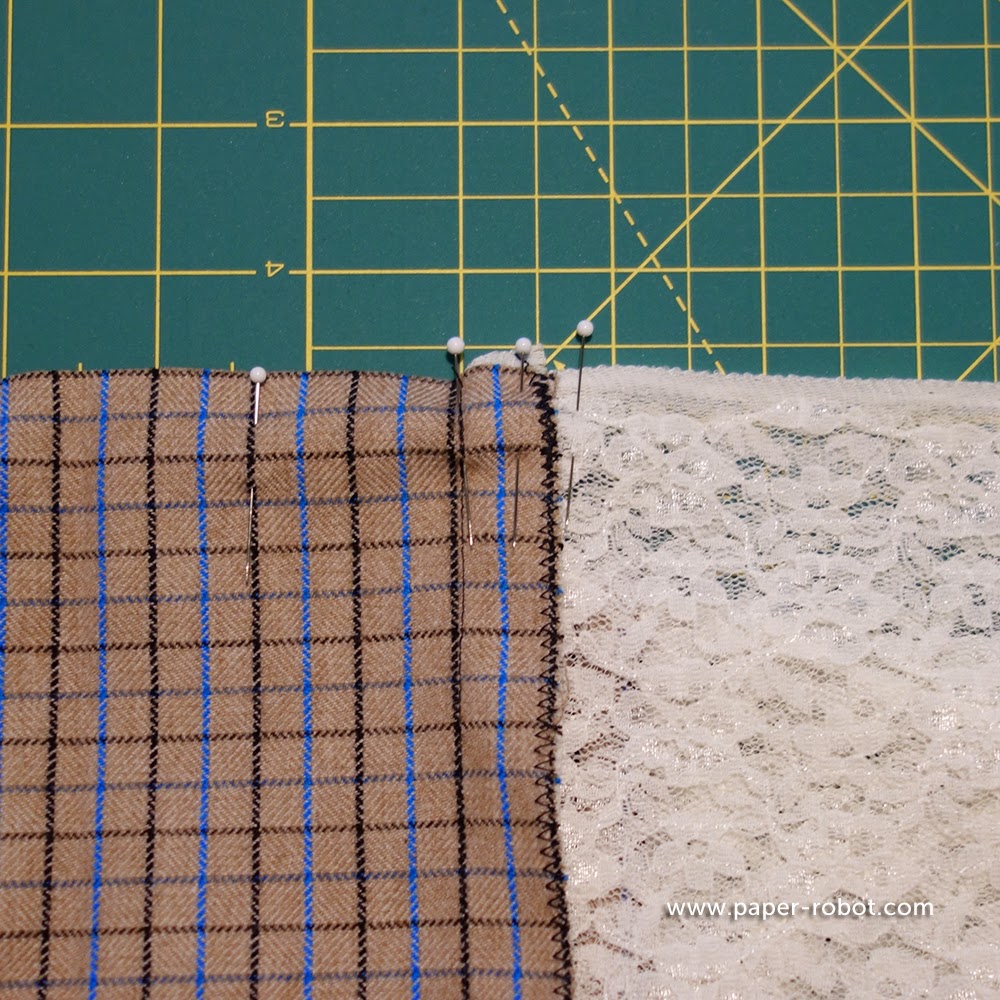
Yep, wrong sides together, 1/4" seam allowance! We're going to do a French seam.


Flip back inside-out and pin along those side seams you just made. Sew again, right sides together, using a 1/4" seam allowance. Your unfinished edges should be enclosed now.

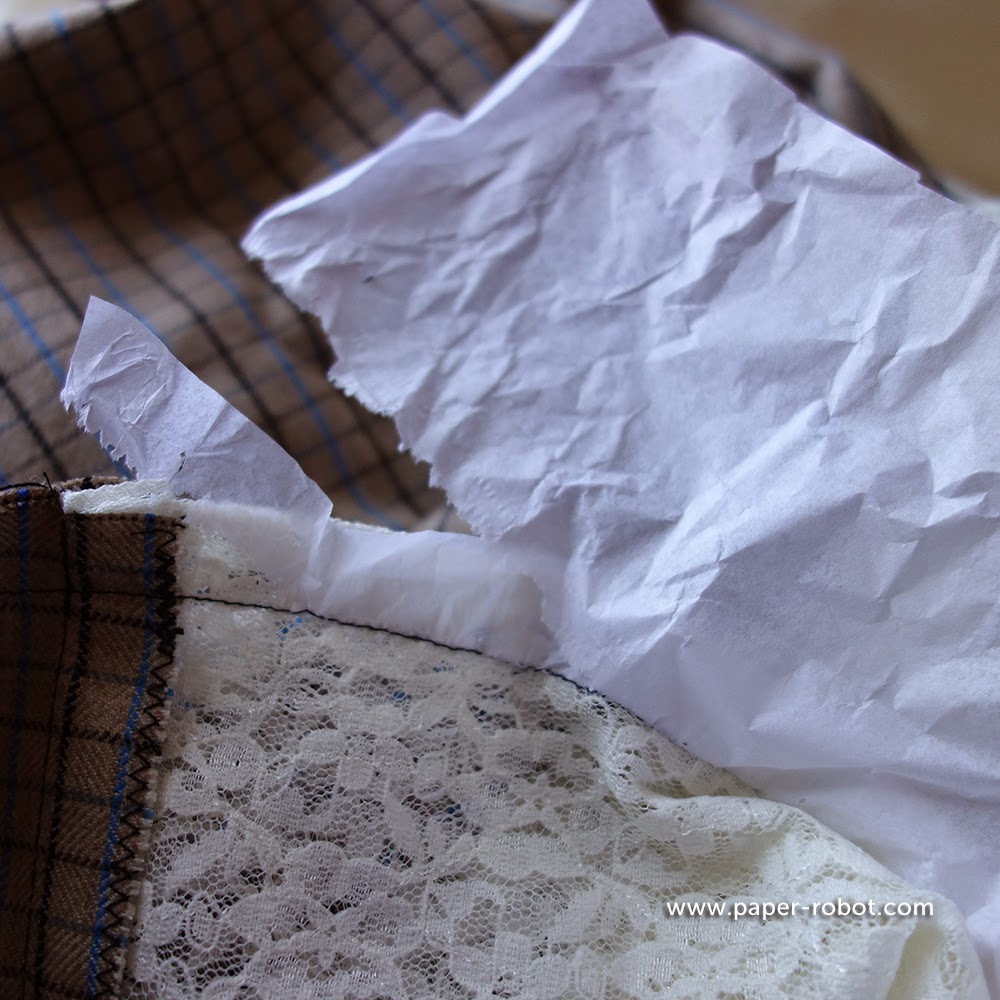
I don't have a photo of this because I did it so crappily, it's embarassing. Haha... It's OK, sewing isn't perfect.

5.5 Take a random photo of Spousal Unit drinking water.


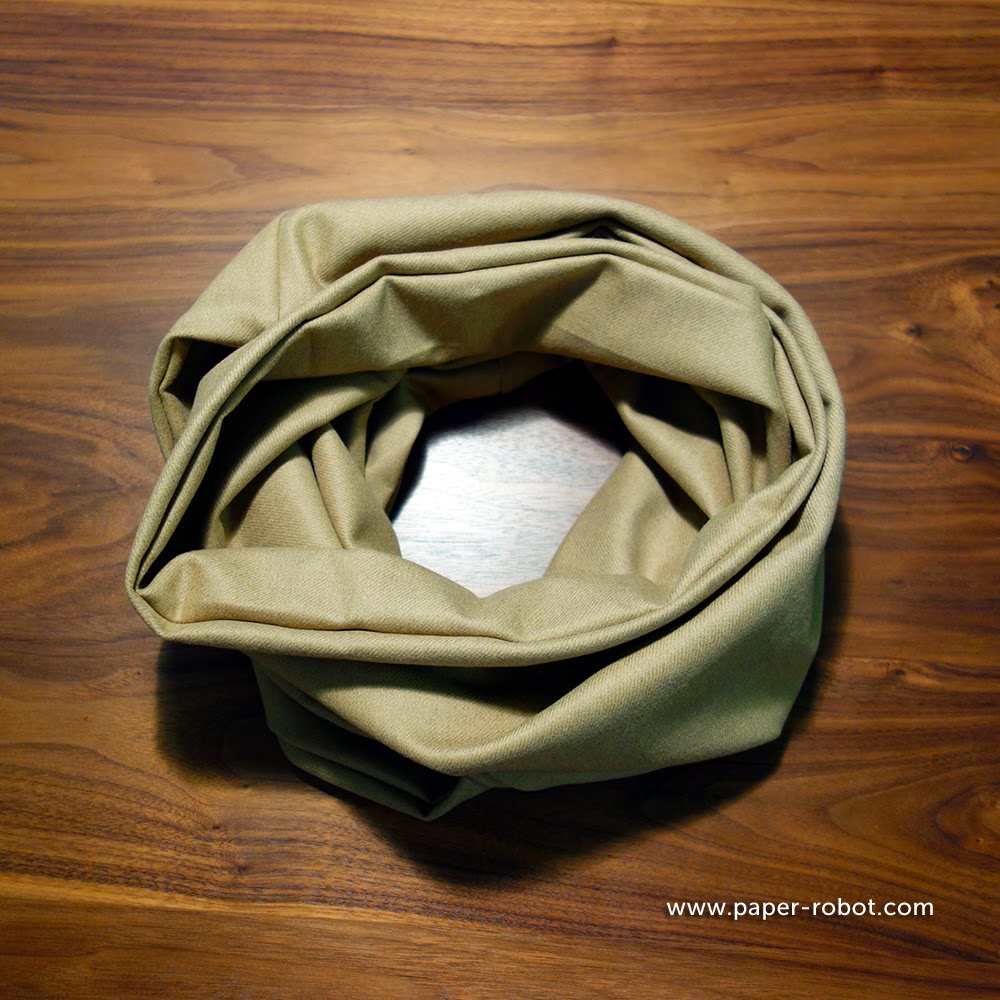
6. Attach bottom to body.
Finish bottom piece, either with overlocking or zig-zag stitching. At each corner, mark a small line, 1/2" from each edge. This should give you a small X. Match these X's to the side seams of your front/back/side piece. 


Pin the bottom to the front/back/sides, right sides together. Pin the seam allowance (from the front/back/sides) to one side, basting if necessary. Sew, using a 1/2" seam allowance.


7. Enclose bottom seams (optional).
If you want to give your back extra stability for all those cans and vegetables, enclose the bottom seam allowance by sewing along the bottom edge. This isn't always necessary, and can be a little tricky, so I don't always do it.


Either way, you should have a fully functional, completely washable grocery bag to forget you had in your trunk!

Photograph of my notes tracking what I did.