

Note that you can definitely do this with two layers of the same fabric, and you don't have to use the lace, which means you can skip a lot of the extra finishing and lace-related precaution steps.
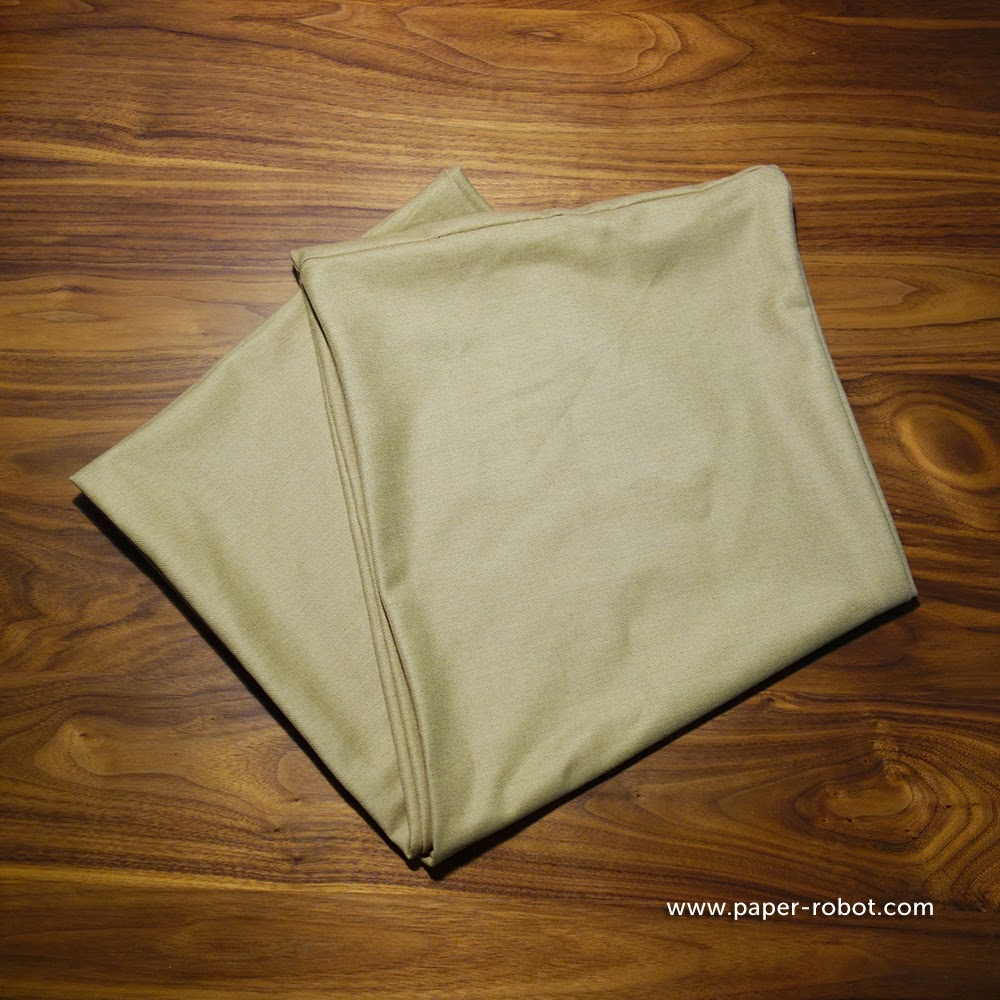
The fabric I had was 16" wide and 43" long, but that isn't enough length to wrap multiple times. It's fine if you like this look, but if you want a tighter single wrap, go shorter, and if you want a double (or triple) wrap, I'd say go with at least 60"-70" long, and make it narrower. OR, keep it wide AND make it longer, and you have a shoulder wrap.
Materials:
- 1 piece wool fabric 16"x43"
- 1 piece lace fabric (not too stretchy) 16"x43"
- sharp pins
- hand-sewing needle
- thread to match, and thread that doesn't match at all

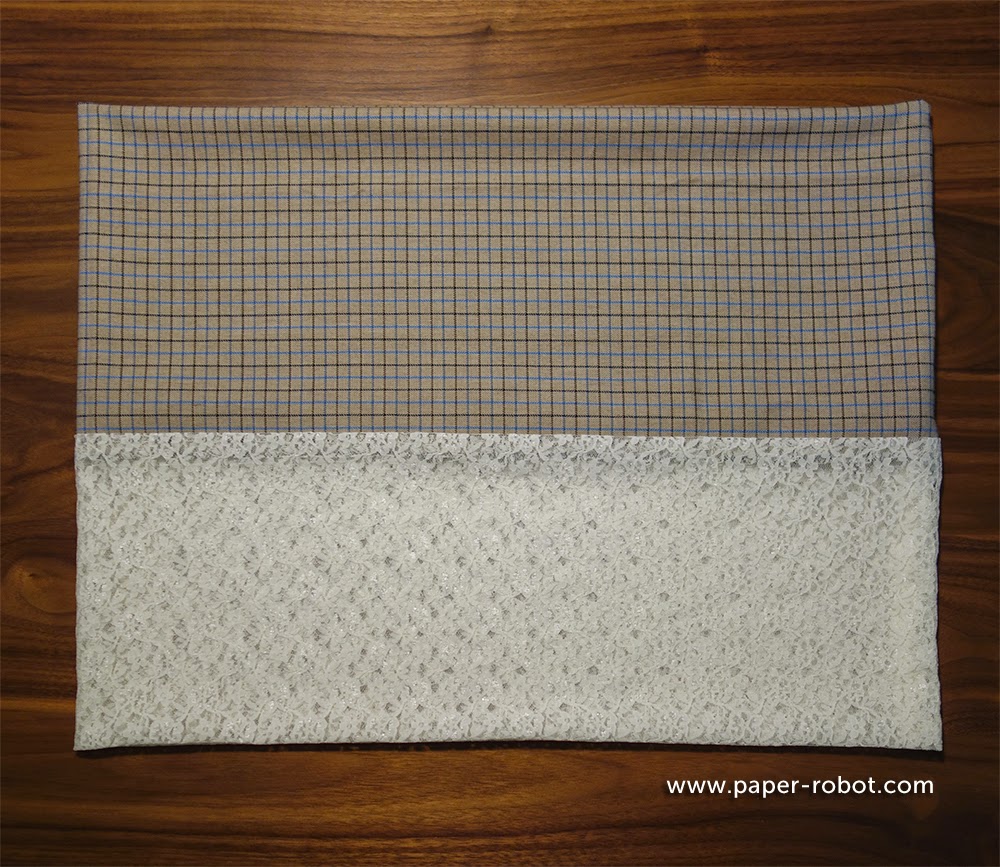
Once you've cut your fabric to size, pin along the long edges, with right sides together. Do not pin the short ends. You want to sew a tube.
Sew the long sides together with 1/2" seam allowance. Make sure the wool layer is on the bottom to avoid getting the lace caught in the feed dogs (the teeth on your sewing machine which pull the fabric along).
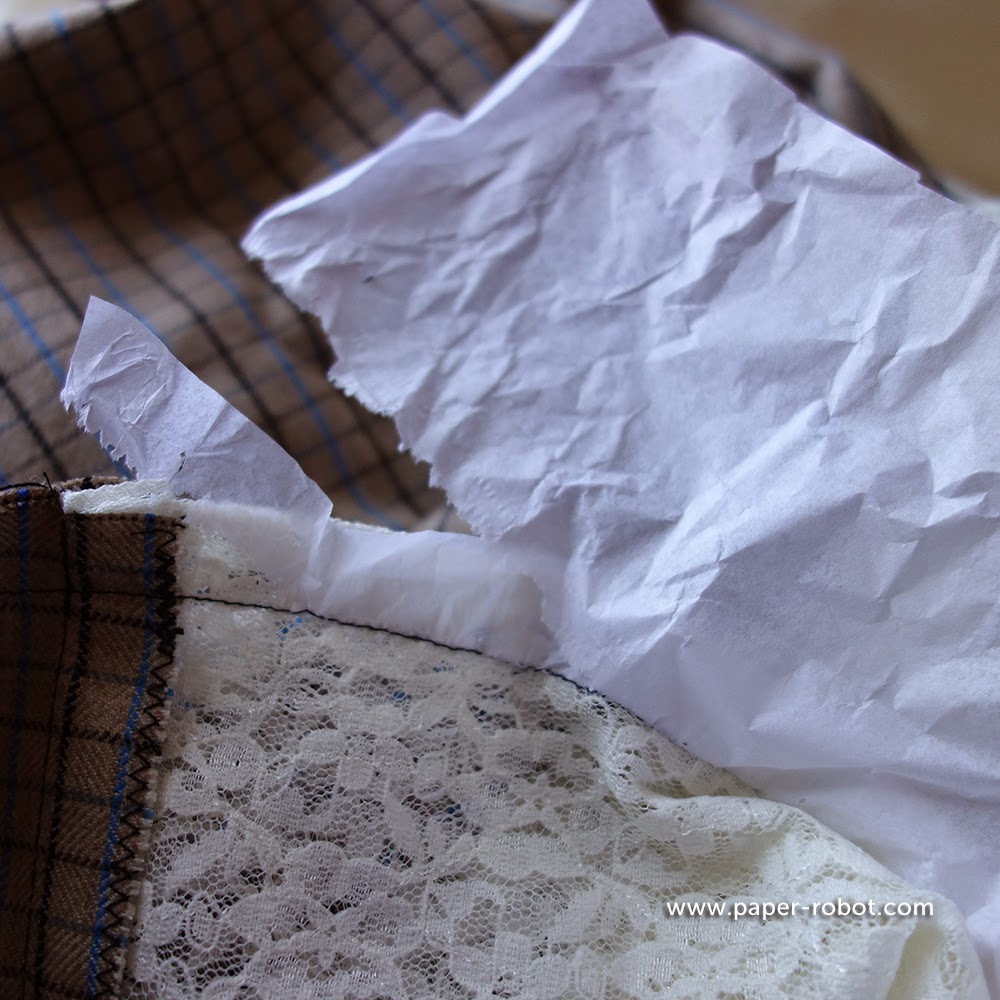
Then, use a zig-zag stitch and go along the edges of your seam allowance. Once you've trimmed your threads, tug a bit along the seam allowance and trim off any excess threads from the wool, like so:
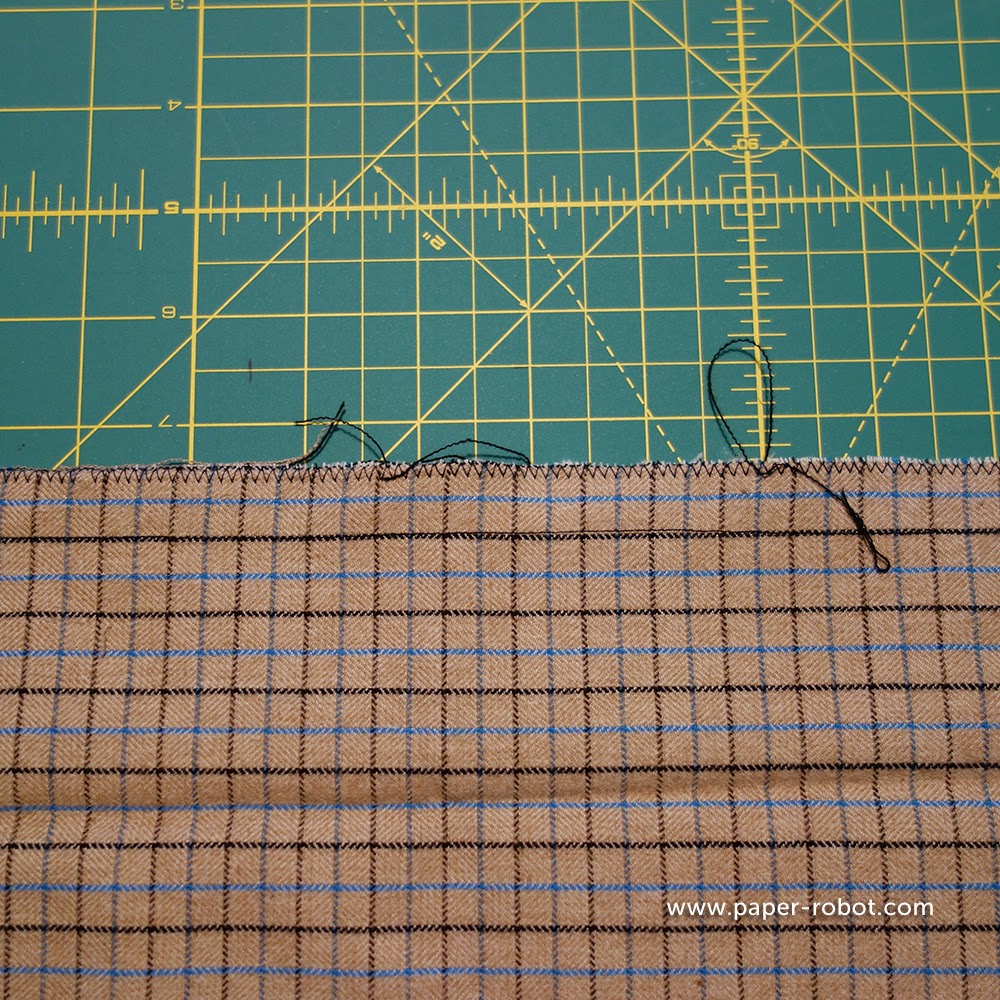
Because the lace is sheer, you'll be able to see any stray threads that come loose after you finish your cowl. But you won't be able to pull them out, and you don't want your wool to unravel! This is why we finish this edge now.
Now comes the confusing part. You have a tube, yes? It's inside-out. If you wanted to stop here, and just have a tube, you'd just turn it right-side out. We're going to do that, kind of. Instead of turning it all the way right-side out, we're going to stop half way.
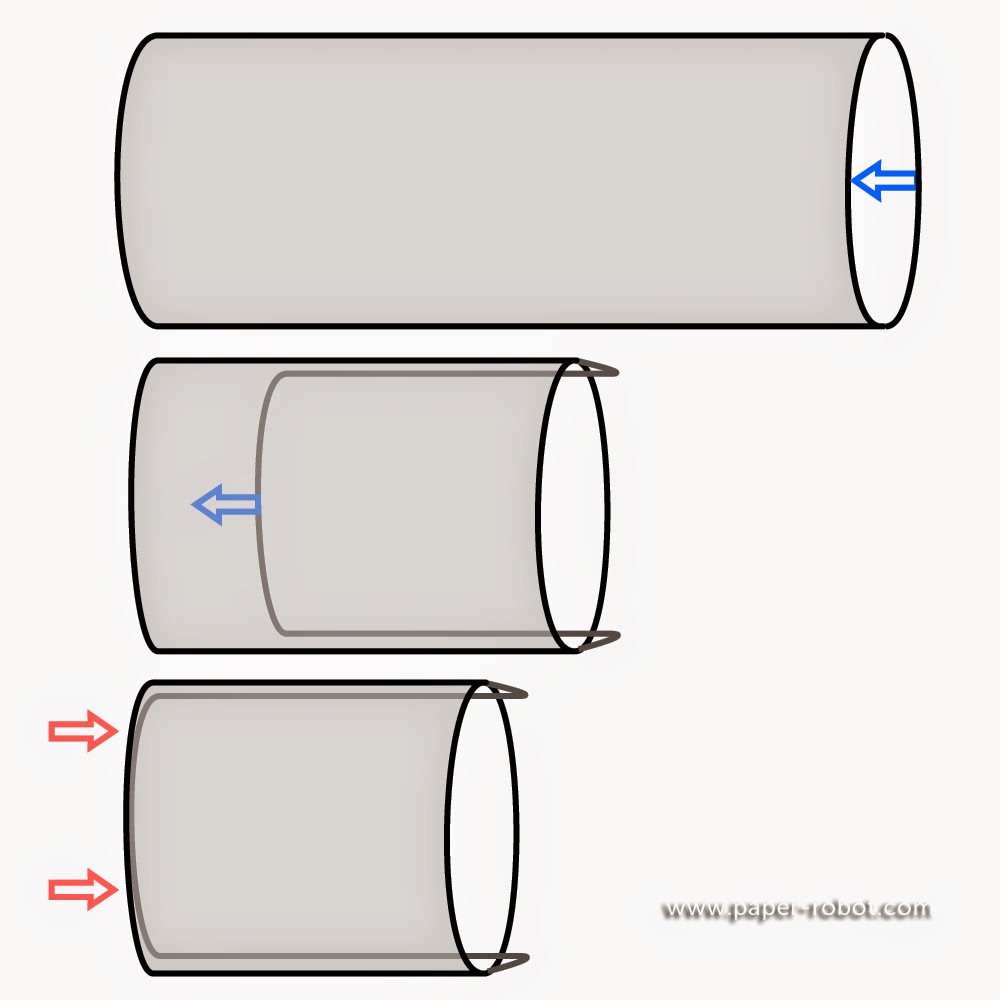
Here is your tube at the top of this image. Stick your arm inside, from the left, and grab a hold of the right side. Then pull it inside your tube, so that the right side is folded inwards (middle of the diagram). Stop when both ends match on the left-hand side (bottom, red arrows). On the right-hand side, it'll be folded, like this:
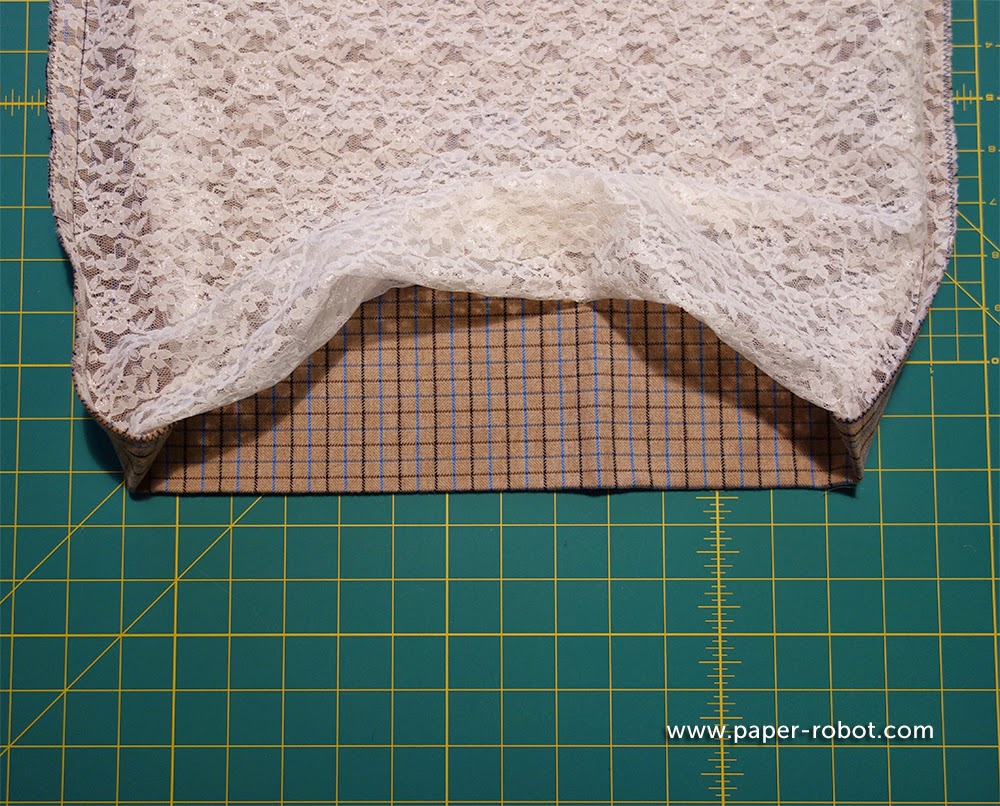
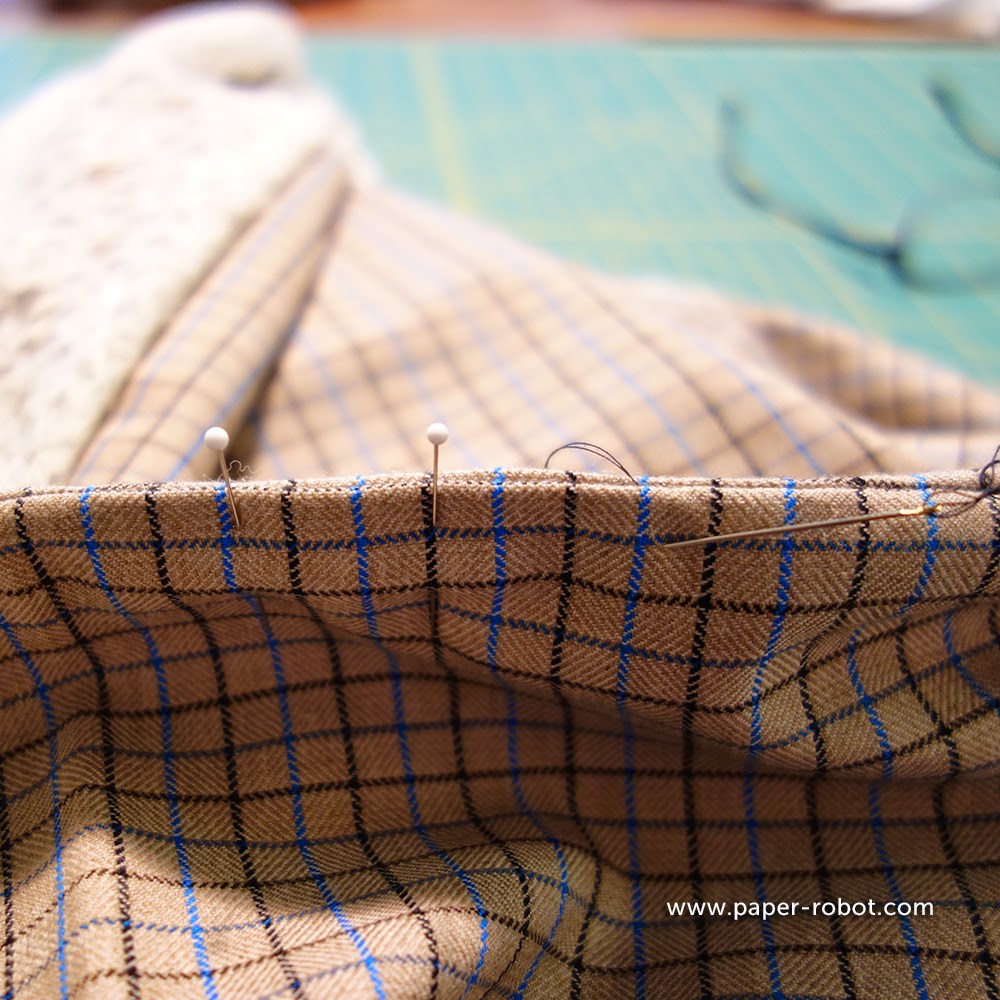
Once you have that, pin that left-hand side together, starting at the side seams. I opted to keep the wool straight, rather than trying to fold it back, since the lace is thinner and has more give. I like to pin right at the seam, so I can match them up as best as I can.
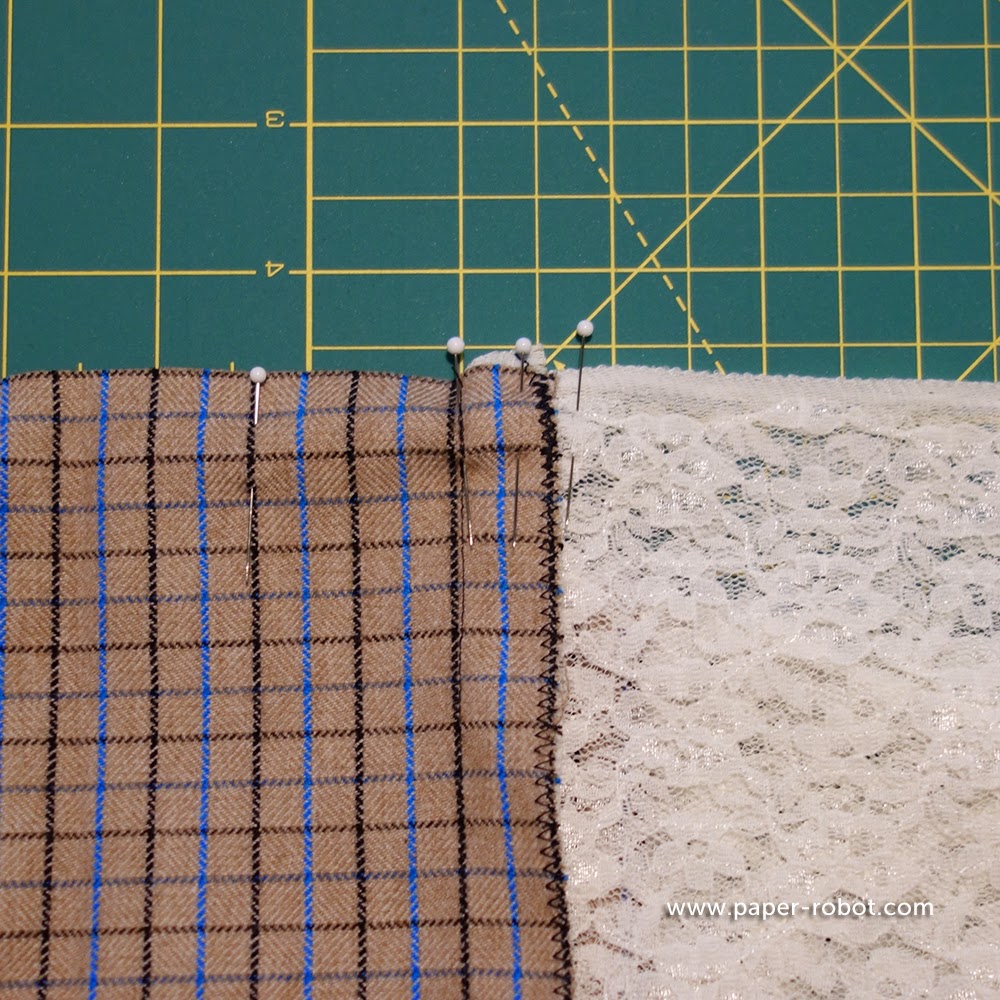
Then you can start pinning the rest together. The wool will be pinned to the wool, and the lace will be pinned to lace. But if you try to sew your lace together, you might end up catching it on the feed dogs again, so grab a piece of tissue and pin that on the inside of the tube, against the lace. This will be the bottom layer you will sew on.

Think of your tube as a ring, which goes around the free-arm of your sewing machine. You'll sew that ring together with a 1/2" seam allowance again, but leave a gap in the wool, for turning.
Zig-zag the wool edges and pull out loose threads again, but this time you'll have to do each wool layer separately, otherwise you'll close up that turning gap.

Then, carefully rip out that tissue paper.
Then, just as with the rectangle project, crease the fabric at the gap, and start turning your project right-side out. It might look like a mess for a bit, but have faith and keep pulling.

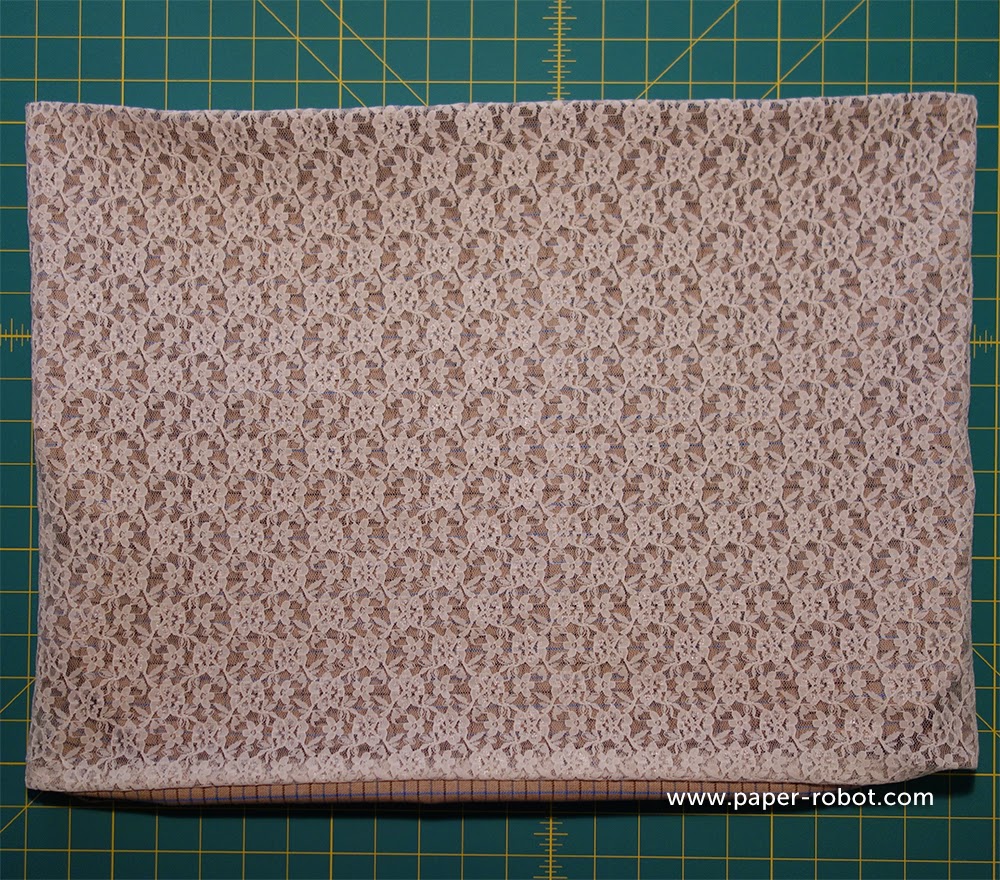
Once you finish, you'll have a bona fide infinity cowl! But with a gap.
Pin that gap together, slip-stitch it closed, and you're done!
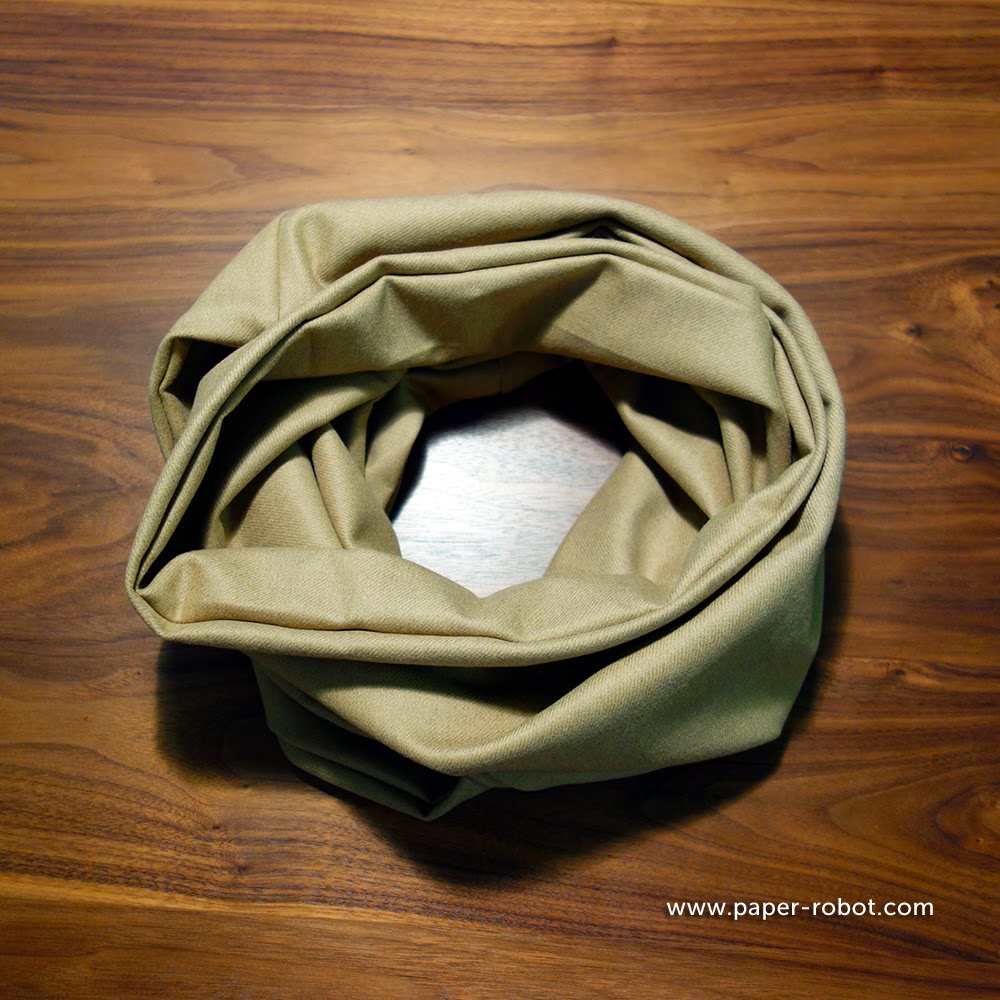
Play a bit with the sizes, to find one that suits you. Maybe you like them long so you can get a double or triple wrap? Or maybe smaller so you get a closer fit . Make sure it can fit over your head!
No comments:
Post a Comment