
In many ways, a t-shirt stocking is actually better; you probably have lots hanging around, so you don't need to buy more fabric (although really, who needs a *reason* to buy more fabric?), you don't have to worry about finishing edges, and it's stretchy, so you can pack more in there!
Of course, Jenton might have a heart attack if you actually cut up a shirt he gave you, so unless you're his wife (<3 <3 <3 Hi Addie!!!) you probably can't get away with it, and will have to grab another shirt, like this one from your alma mater.
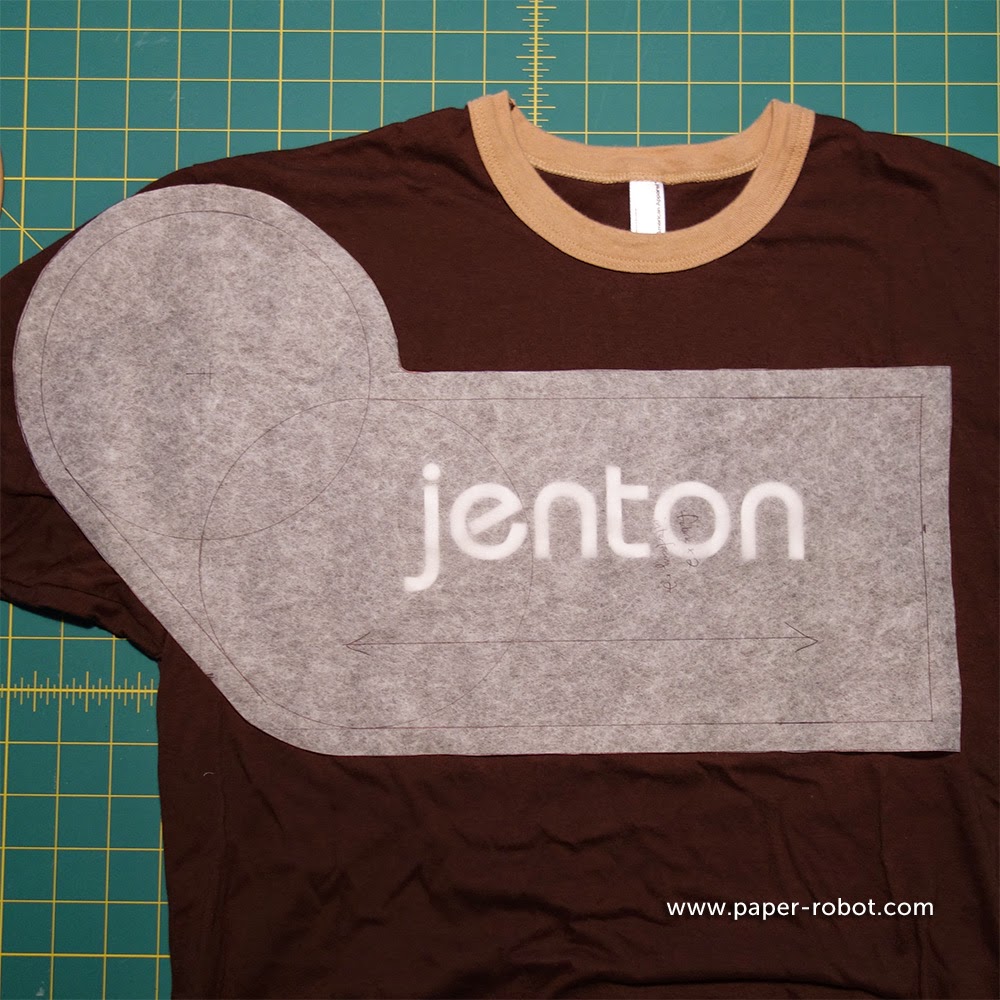
Variant #1: T-Shirt Stocking
You don't need to cut a lining in this case, unless you want one, since the knit fabric won't fray.
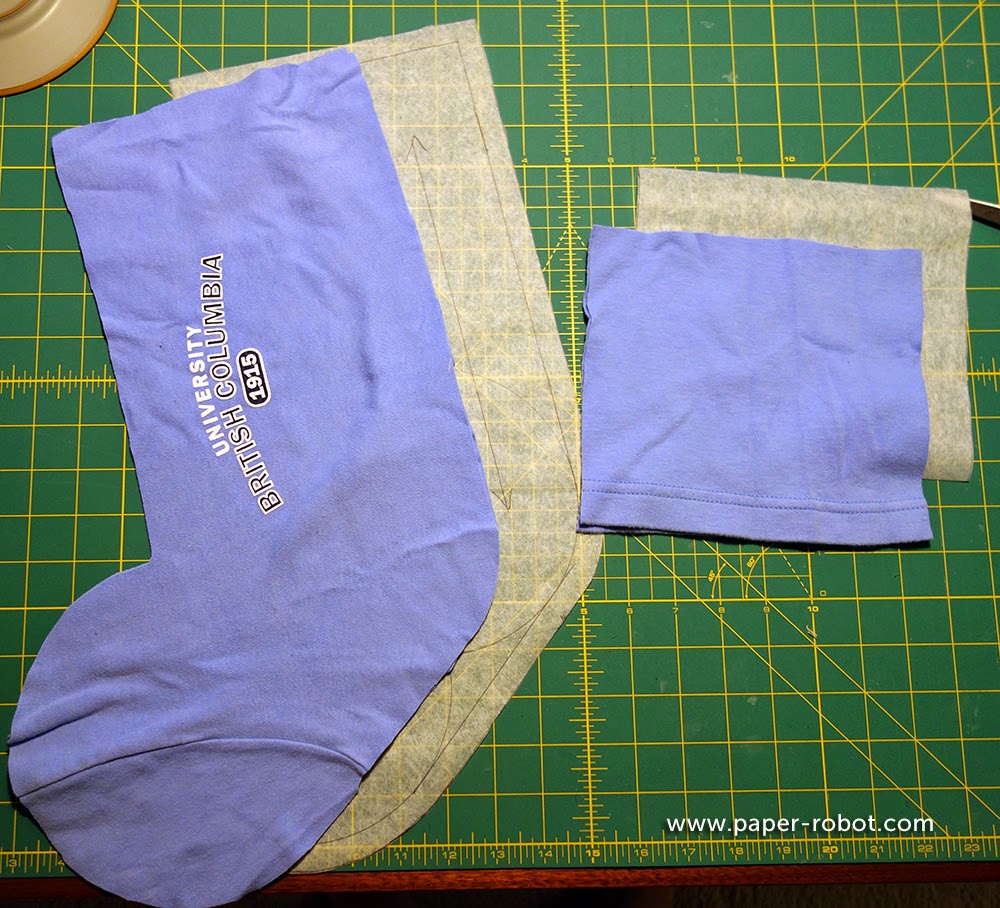
The pattern pieces I used are exactly the same as the one we made before, only to get the t-shirt pattern on there, I cheated and made it go across the grain rather than with it. For the cuff piece, I cut it from the bottom, so I could use the hem stitching.
To make a loop, I cut off a piece of hem from the sleeve.

Construction was so ridiculously simple: sew the stocking pieces right-sides together, and sew the cuff sides together.

Then put the cuff on the stocking, and stick the ends of the loop against the back seam of the stocking.
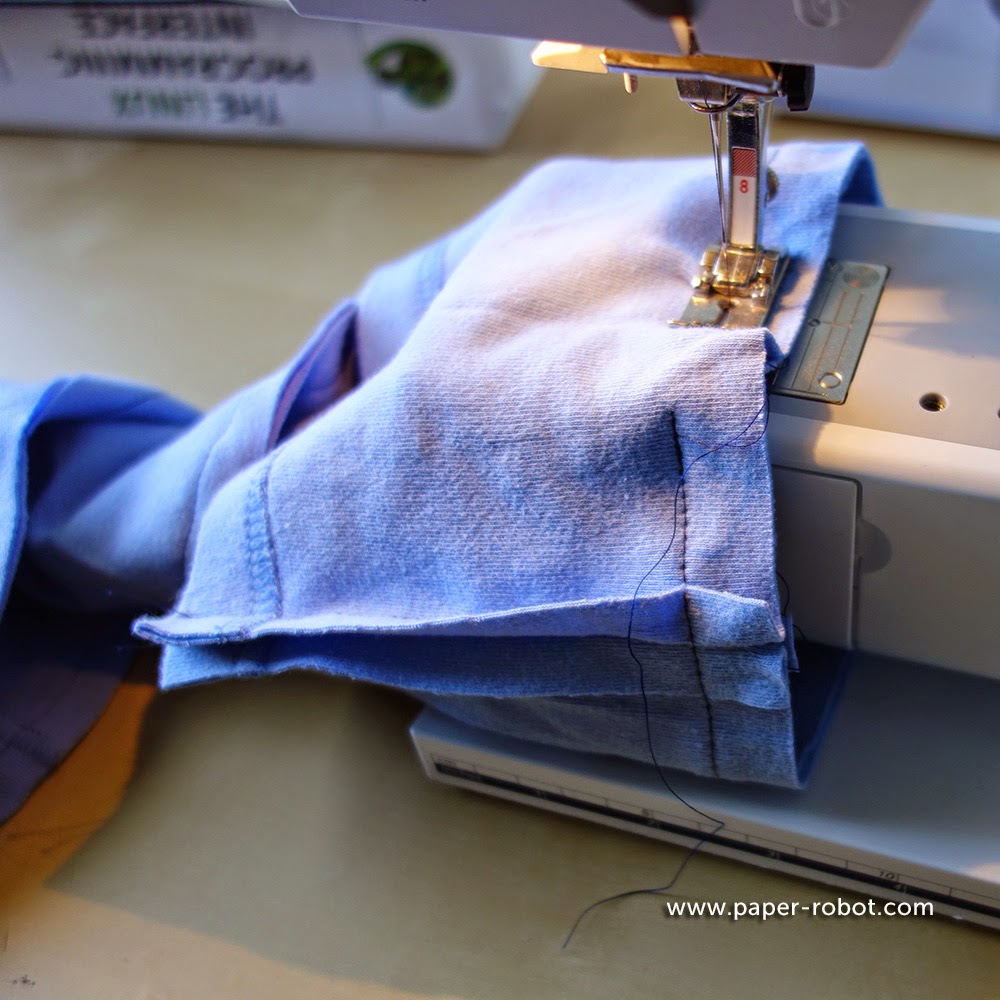
Sew together, and voila!
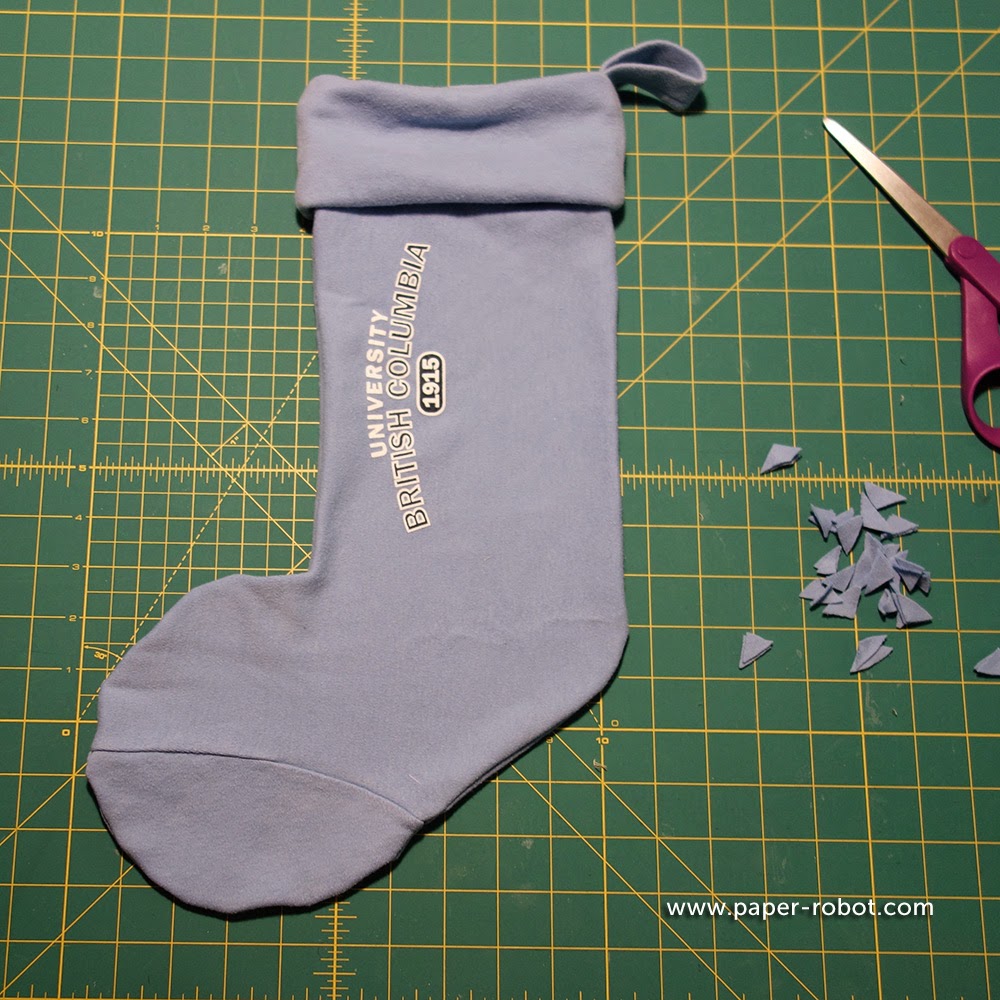
Variant #2: Cuffless Stocking
If you don't want or need a cuff, just cut out the stocking pieces. You will want a lining in this case, unless you plan on finishing the inside edges.
To make this one, after you apply interfacing or batting, match the stocking pieces so that the tops match. I made you a diagram:
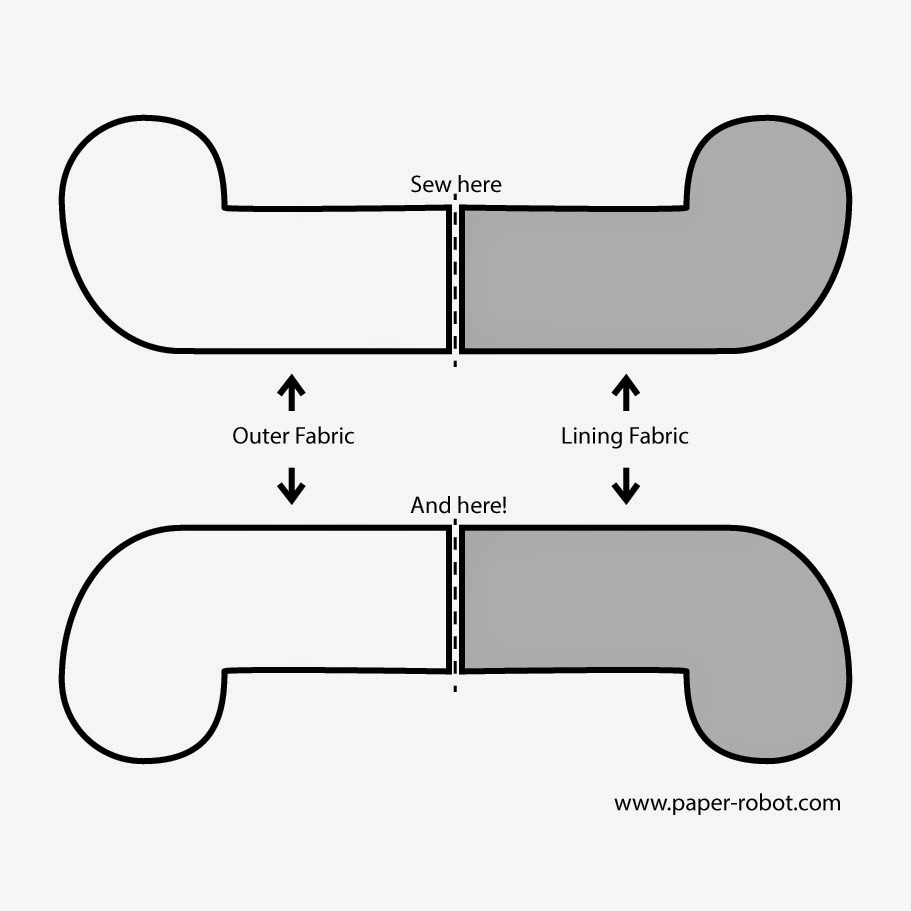
If you want to add a loop, you need to do it in this step. Just pick one of the pairs you're sewing together, and pin in your ribbon towards the back.
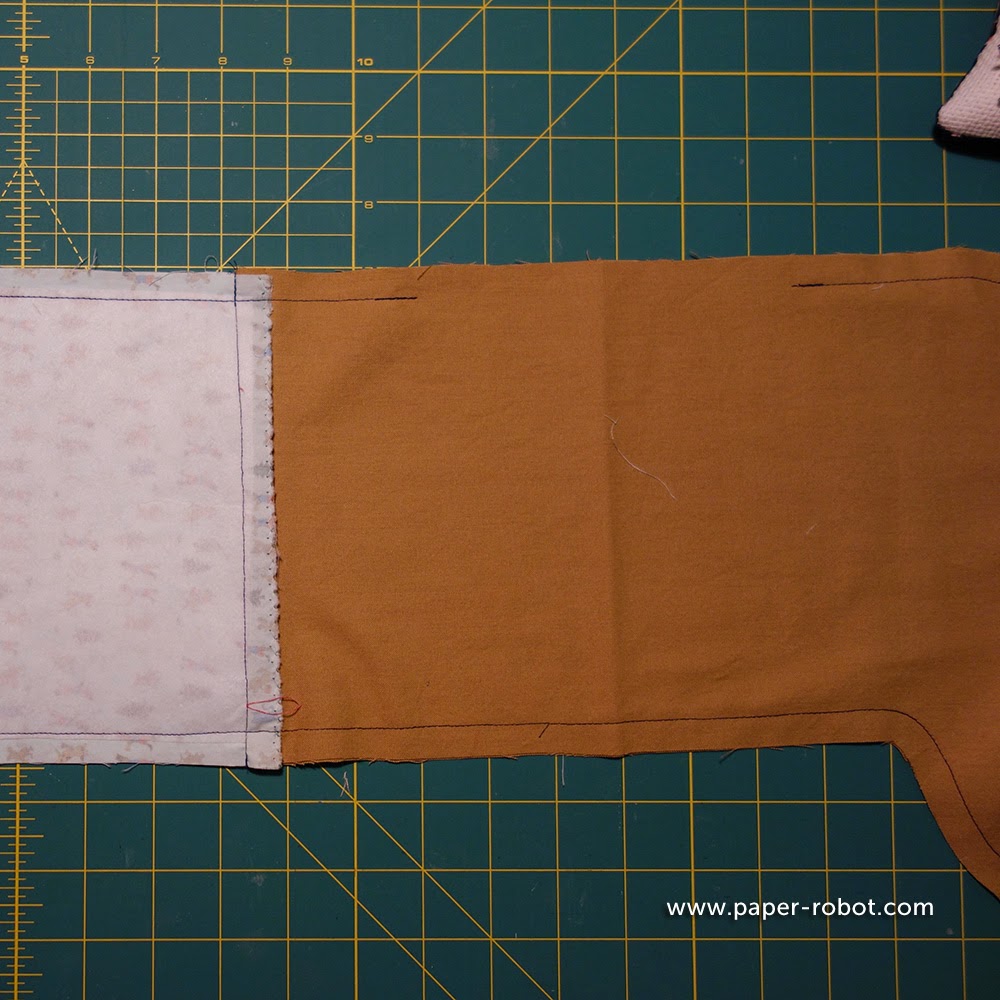
Once you've sewn those tops together, you will have two pieces, each with an outer fabric and a lining fabric. Sew those, matching outer fabric to outer fabric, and lining to lining, right-sides together. But leave a gap in the back of the lining for turning, like so:
Clip your curves!

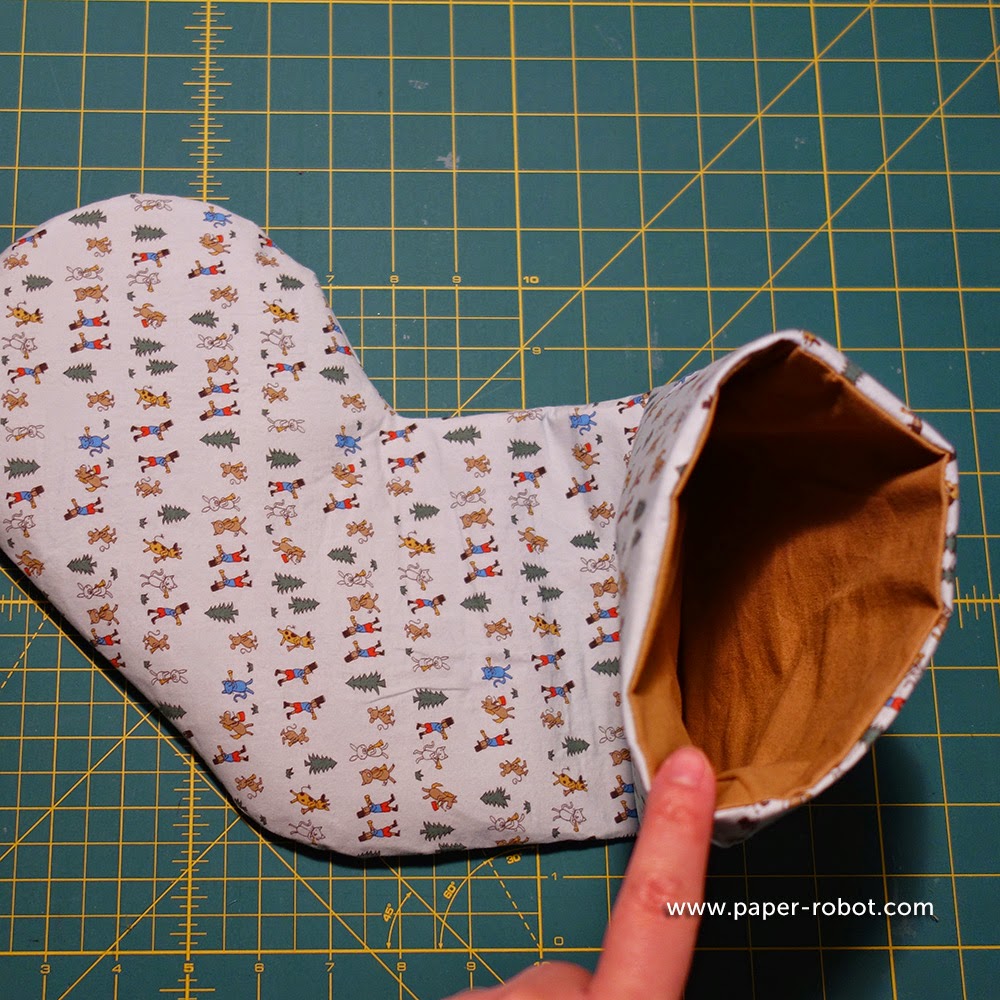
Turn right-side out through that gap in the lining, then sew that gap closed.

You'll have a nice clean top, without a cuff!
If you opted not to add a loop before (or forgot, which is what happened in this case), you can always add one at this point. Just make sure the ends of your fabric are finished.
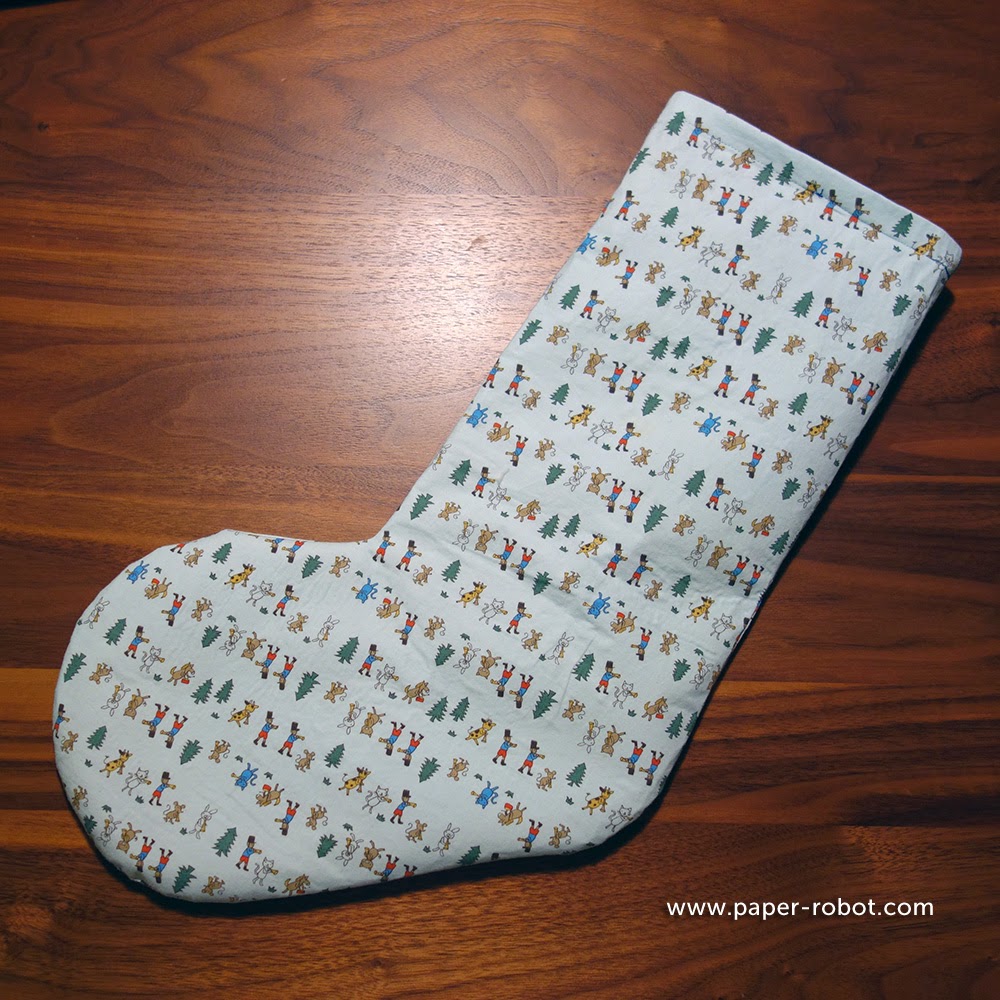
Happy sewing!
No comments:
Post a Comment