
When I was in high school, I made more bags than anything else in my sewing class. I distinctly remember my sewing teacher telling me once that she was getting the 8th graders to do a "Sandra project"--a tote bag. (Hi Nicola, if you're reading this!)
I've been obsessed about bags for about as long as I remember; I think this is natural when you're contstantly toting projects and books around with you, as I did as a kid. Shopping trips with my mom would frequently involve a stop in the accessories department in The Bay, to look through various purses and wallets. Many years later, this is all still true, and I have a box full of extraneous purses to prove it.
In the last couple of months, as I've had more time to sew, I've pushed myself to design and make a bag a week. I have a bunch of designs in a notebook I keep in whichever purse I'm using for the day, and even more in my head. Most of them start with a basic sketch showing what I want it to look like, and some notes on qualities I want to include.
These bag-a-week posts aren't intended to be tutorials so much as simple showcases of recent projects and some of the steps within, although I bet there will be a couple that would be worth laying out step by step.
The first bag I made was a variant of the yarn boxes that I posted last week. This one is triangular, and has pockets.


I'm really into using rulers and grids; it takes some guesswork out of the process. My large Olfa mat has angles on it too, which helped a lot to get that triangle base on the first try.

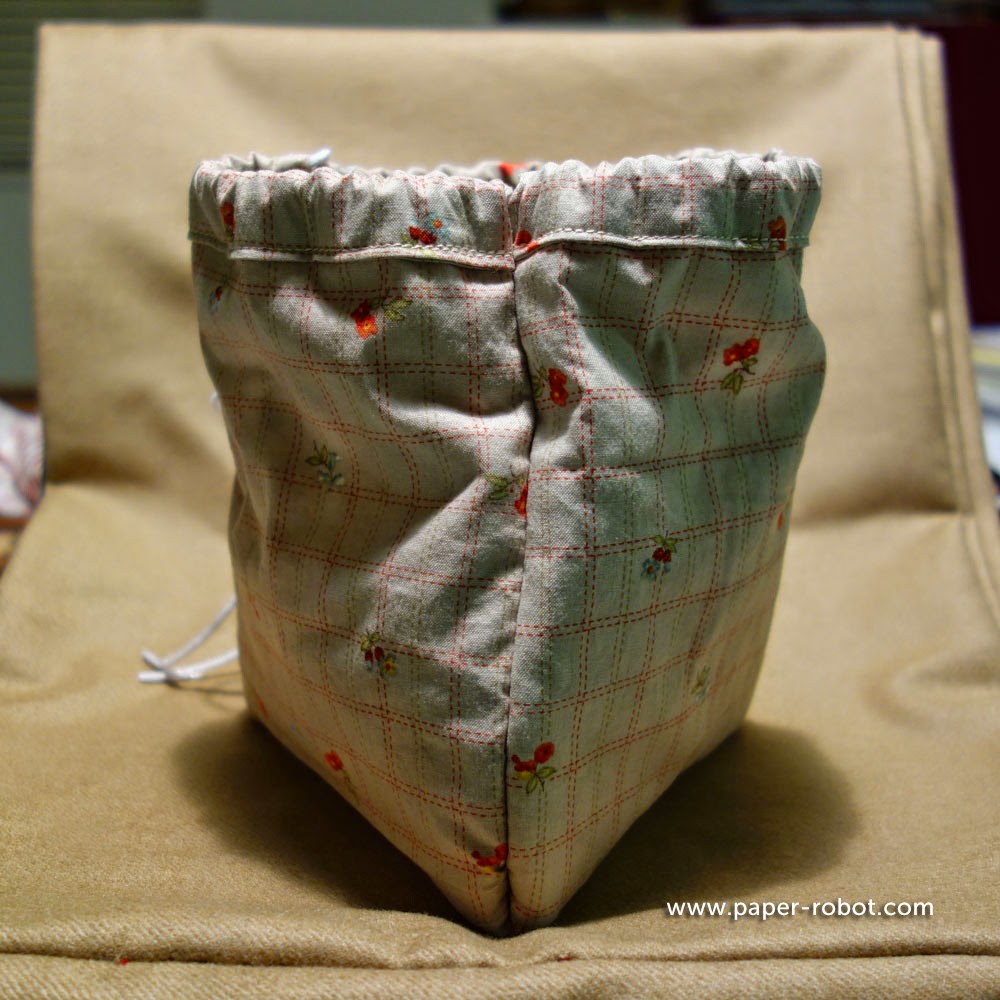
Since I eschewed the pointed tips, I could put in a basic casing, which is threaded here with a single shoelace. It was kind of awkward at the seams though; I think a small taper would have been a better option.
Bag sides, made from version two of my paper pattern.
These are just rectangles, without the pointed end that I had in the other yarn boxes.
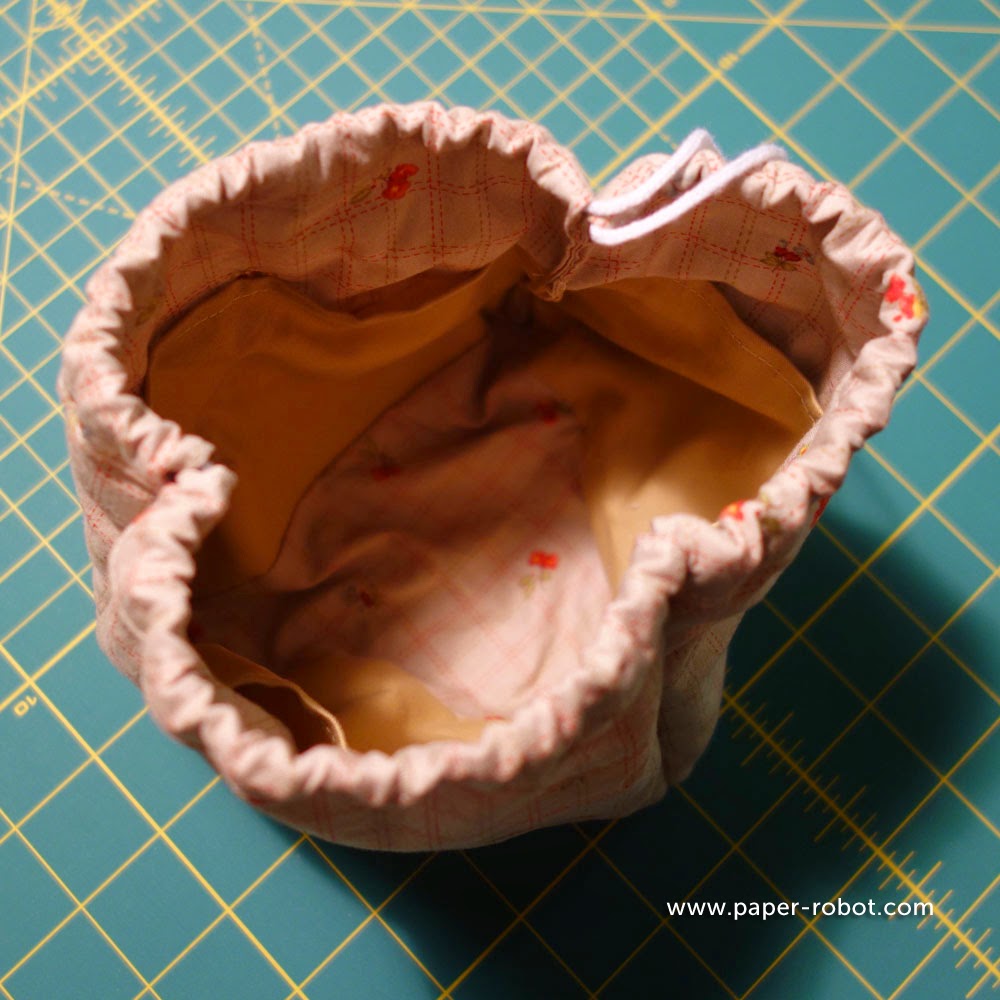
I also had an idea to add small pockets, which are hand-basted to the lining in this photo.
Finished bag, open. Closed view is up top.
Like the other yarn boxes, this has sturdy seams which keep it upright.Since I eschewed the pointed tips, I could put in a basic casing, which is threaded here with a single shoelace. It was kind of awkward at the seams though; I think a small taper would have been a better option.
Top-view of inside.
Although I really like the pocket idea, it made construction a little more complex, and possibly too thick. If I did this again, I'd leave them out, but maybe place them in the cube.
Overall, I'm still pretty happy with it. It was a lot less work than the octagonal yarn box (8 sides was too many!) and fairly functional. The pockets actually make it a great candidate for travelling with jewellery!
No comments:
Post a Comment