

Besides your pattern and fabric, you'll want a good pair of fabric shears, and lots of sharp pins.
Step 1: Lay out your fabric
Start by preparing your fabric. In my first sewing tutorial, I mentioned finding your grainline, and you'll want to do that to your fabric now.
Using the layout guides that your pattern suggested, start placing your pattern pieces. I like to start with the largest pieces first, since the smaller ones can sometimes fit in-between. For pieces that say "place on fold," you'll do exactly that. This will give you a piece of fabric that is twice as wide as the pattern, folded in the middle.

For ones with a lengthwise grain marking, get out a ruler and measure the distance from the selvage or fold to one end of the arrow, and pin.

Then move the ruler over to the other end of the arrow, and measure the same distance again before pinning. Now your arrow should be perfectly parallel to the lengthwise grain. Pin the rest of the piece along the edges.
If necessary, note the direction of your fabric and your pattern pieces. This is very important! If you place some pieces so that the nap or print of your fabric are vertical, you don't want one of your pattern pieces to be placed horizontally. This is partially why, sometimes, the cutting layout will have you place certain pieces upside-down, with the printed side against the fabric. Even if you aren't using a fabric with directionality, it's good to be consistent anyway.
Step 2: Cut!
Once you're satisfied with the placement of your pattern, you can start cutting. Use a large pair of sharp fabric shears or a rotary cutter. Small scissors will increase your error rate, simply because they require more cuts.
As you begin to cut, make note of notches that are on your pattern pieces. I like to cut little triangles that face out from the fabric, so I know where these notches are later.

Step 3: Transfer marks
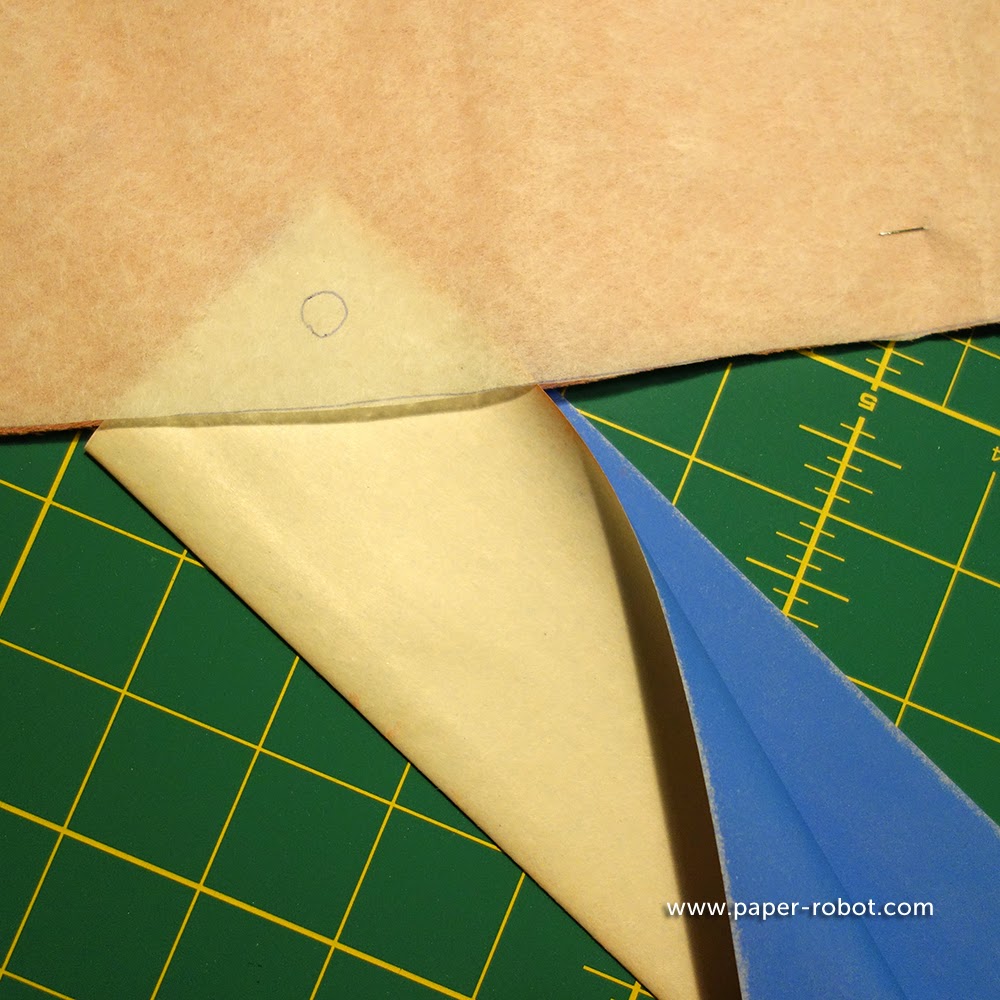
Now you have cut fabric pieces! But what about those circles I was mentioning last week? These are called dots, and you'll want to transfer those to the wrong side of your fabric before you remove the pattern tissue.

You can do that either with tailor's chalk and a pin, or wax-free tracing paper.

For tailor's chalk, stick the pin through the pattern and fabric, then make a small mark where the pin pierces your pieces. Remove the pin and draw in the dot--generally the pattern will have small and large dots.
If you're using wax-free tracing paper, fold a piece in half so that the coloured side touches the wrong sides of your fabric, and slip it underneath the pattern piece. Then, use a dull point, like the head of a pin, to put pressure on the dot. It should be transferred nicely.

If your pattern piece has other markings, like darts, you'll want to do the same thing to transfer those markings, as well. I find that the wax-free tracing paper works best for dart markings, but you can easily make do with tailor's chalk if you use pins to mark the starting and end points of the dart, as well.
Step 4: Interfacing
I like to attach my interfacing before I start sewing. Most garment construction I have seen involves iron-on interfacing, which has a bit of adhesive on one side. To attach that, trim 1/4" to 1/2" off of each edge of your interfacing piece, making sure you keep any notches that were there.

Then, set your iron to cotton, or as hot as your fabric can handle, and ensure that your steam setting is on. Place the interfacing on the wrong side of your fabric. If you choose to pin it down, remove the pins before you start ironing.

Take a scrap piece of fabric, and lay that on top. You should have three layers: fabric on the bottom, interfacing in the middle, then your scrap fabric. Using the spray of your iron, wet the scrap fabric, then put your hot iron on top, and hold it for around 10 seconds. Do this for the entire piece that needs to be interfaced.

For longer pieces, I like to start in the middle, then move outwards. Then you can move the iron around freely, until the glue is melted and set.
Another thing I like to do at this point is finish the edges of my pieces, depending on the construction, especially if I'm working with fabric that gets particularly raggedy. You have to use your best judgement on this, and look through the instructions to see what is most appropriate for your pattern. If you're using a serger, try not to take too much off of the edges, so that you can maximize your seam allowance.

If you have notches, this is where the interfacing notches can be helpful. Otherwise you can just transfer the markings using chalk, before you start serging.
Step 5: SEW
From here on out, you'll mostly be following the instructions that came with your pattern. Some of them have more detailed directions on edge finishing, interfacing, stay stitching, layering, and understitching, like these.

The techniques you'll need will depend greatly on your pattern, but I'd like to write full blag posts for different ones, that can give them full justice.
Until then, keep on sewing!
very interesting post.this is my first time visit here.i found so many interesting stuff in your blog especially its discussion..thanks for the post! best fabric scissors
ReplyDelete